Make this piping hot, perfectly melty vegetarian buffalo cauliflower dip with lots of hot sauce, green onions, and parsley for your next gathering. A certain football game is optional – celery and crispy toasts are not.
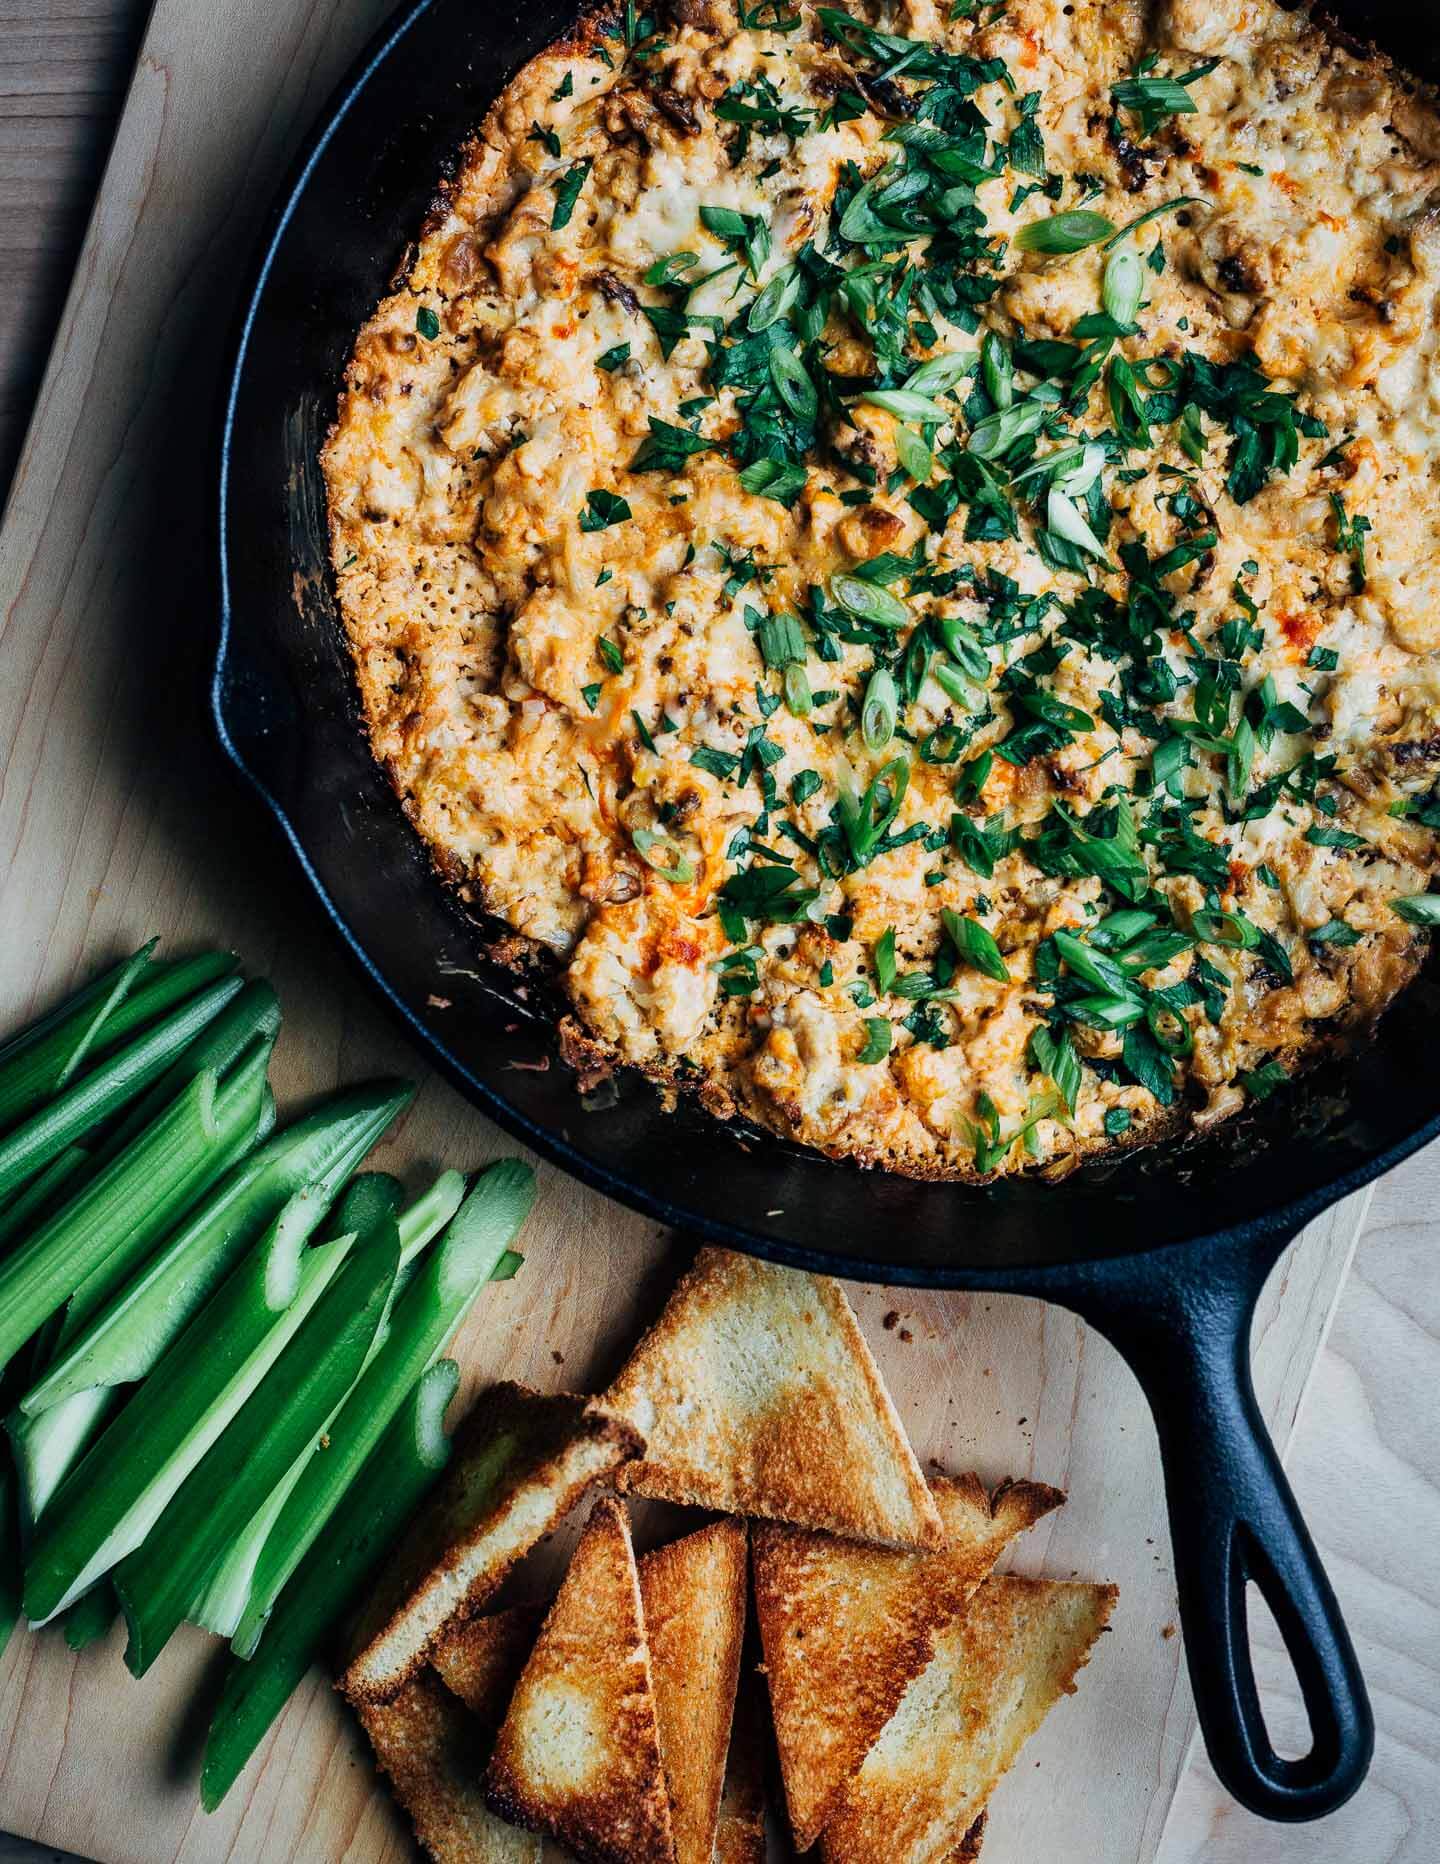
There’s no denying that a cheesy, maybe even gooey dip is a thing of beauty, especially on a chilly February evening.
Buffalo?
The flavor inspiration for this dip is Buffalo wings, a culinary concept that hails from 1970s Buffalo, NY. From the wings, came Buffalo chicken dip, and now, this vegetarian Buffalo cauliflower dip.
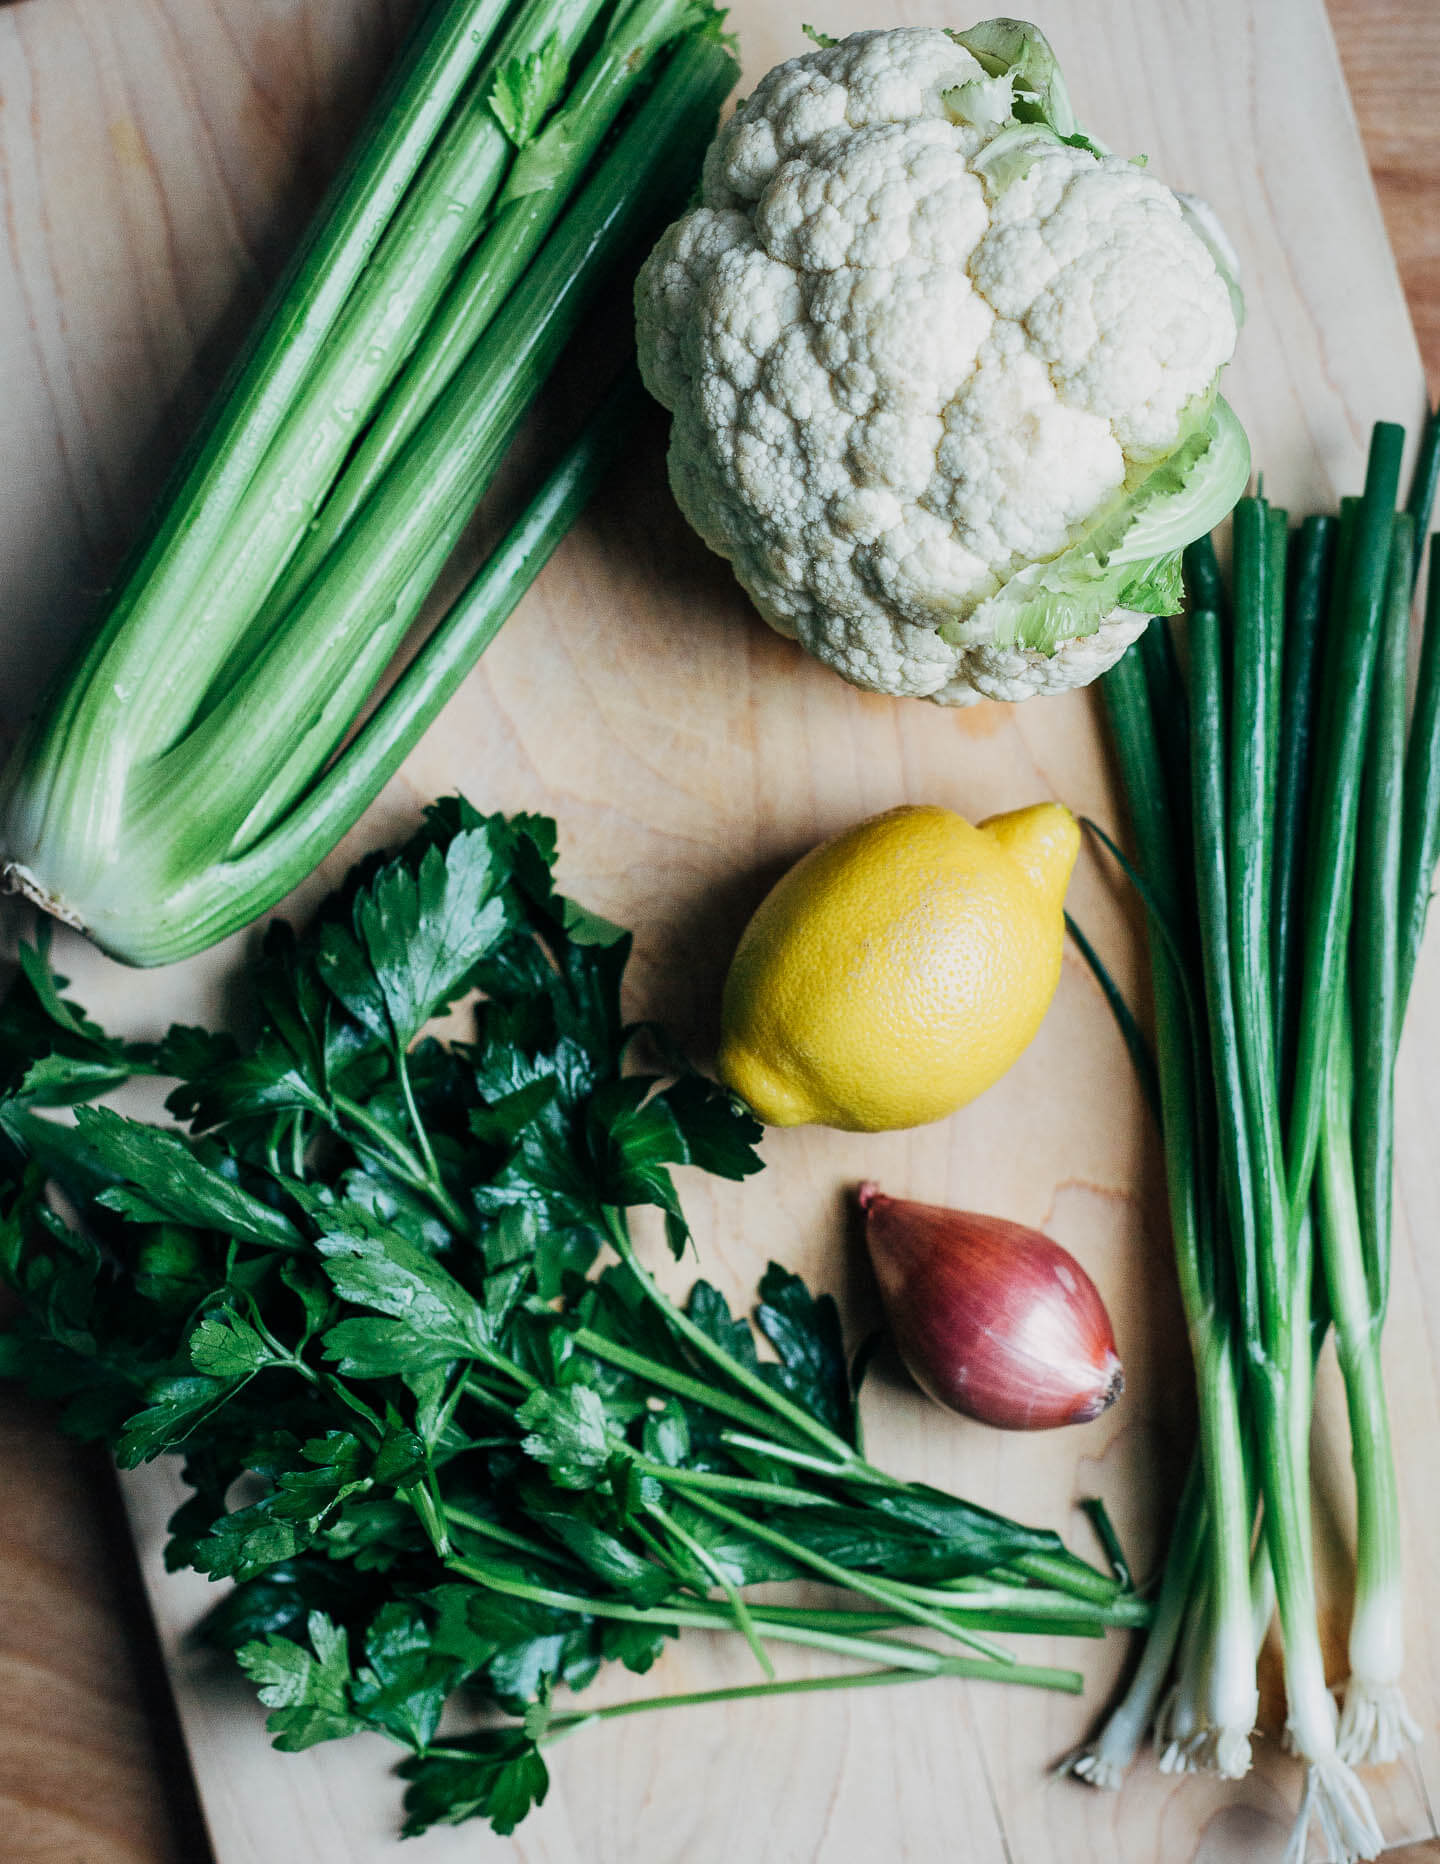
Building the Flavor
The dip starts with a base of roasted cauliflower. Roasting cauliflower adds a very low effort extra step, but it really builds the dip’s flavor and texture. Before roasting, prep the cauliflower with plenty of olive oil, salt, and a good pinch cayenne. Since it’s the base of the dish, well-seasoned cauliflower is essential. Roast the cauliflower until the edges are a deep golden brown and the middles have slumped a bit.
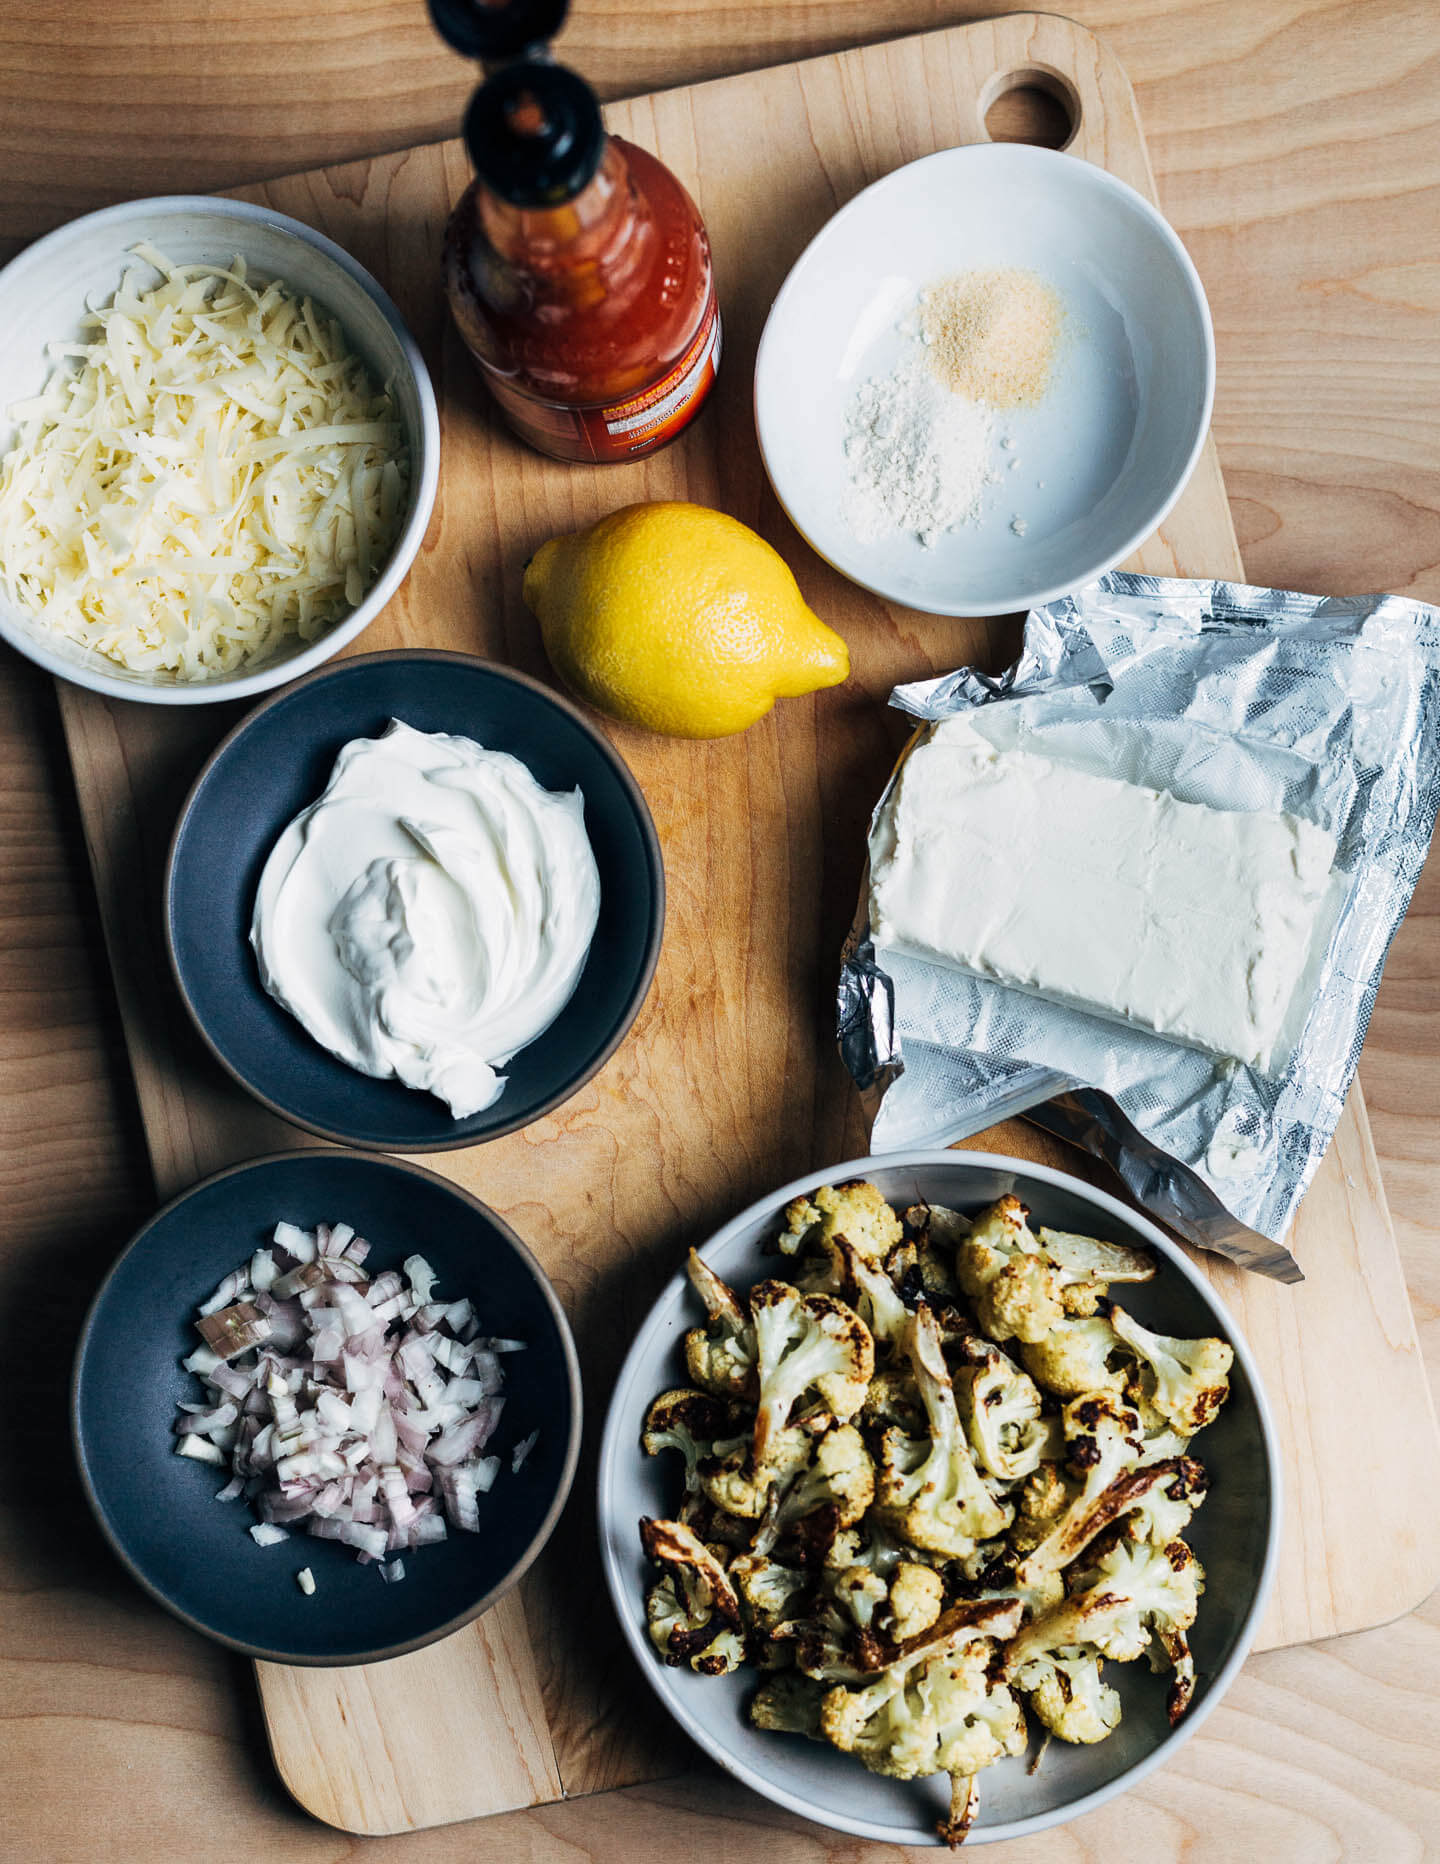
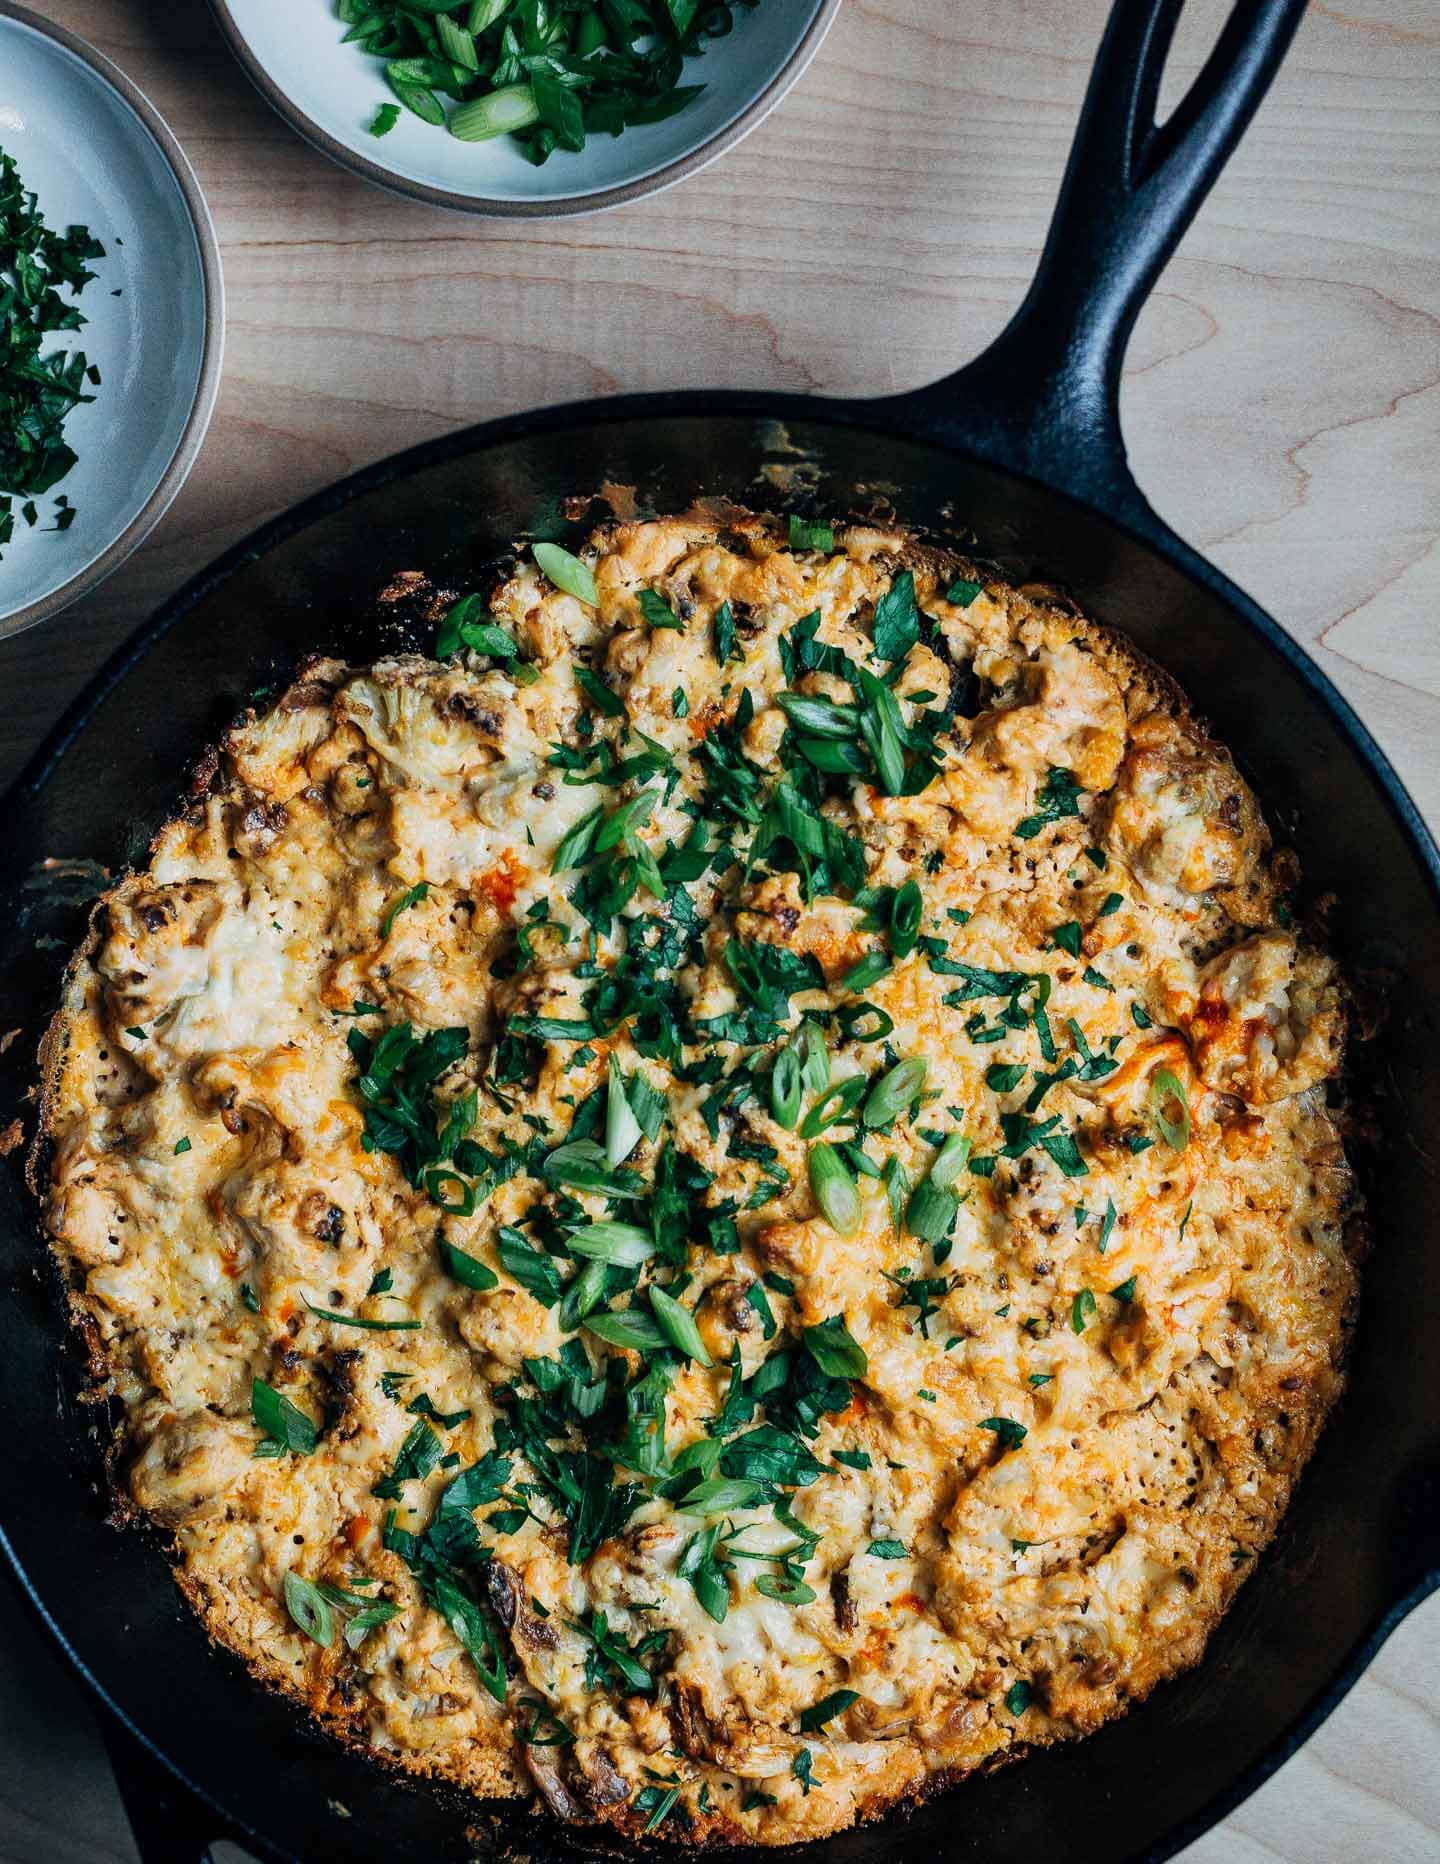
Everything you Need to Make Buffalo Cauliflower Dip
A cast iron skillet is the ideal vessel for this Buffalo cauliflower dip, since you can easily move from stovetop to oven. A baking dish or any oven-proof 8- or 9-inch skillet will work, too.
I’m allergic to blue cheese and went with a sharp cheddar instead. Feel free to sub crumbled blue cheese, or add a few tablespoons on top.
Here’s what you’ll need to assemble the dip:
- Shallots
- A softened block of cream cheese
- Sour cream
- Frank’s hot sauce (or your hot sauce of choice!)
- Roasted cauliflower
- Lemon zest
- Shredded cheddar
- Green onions and parsley for garnish
- Toast points and celery for serving
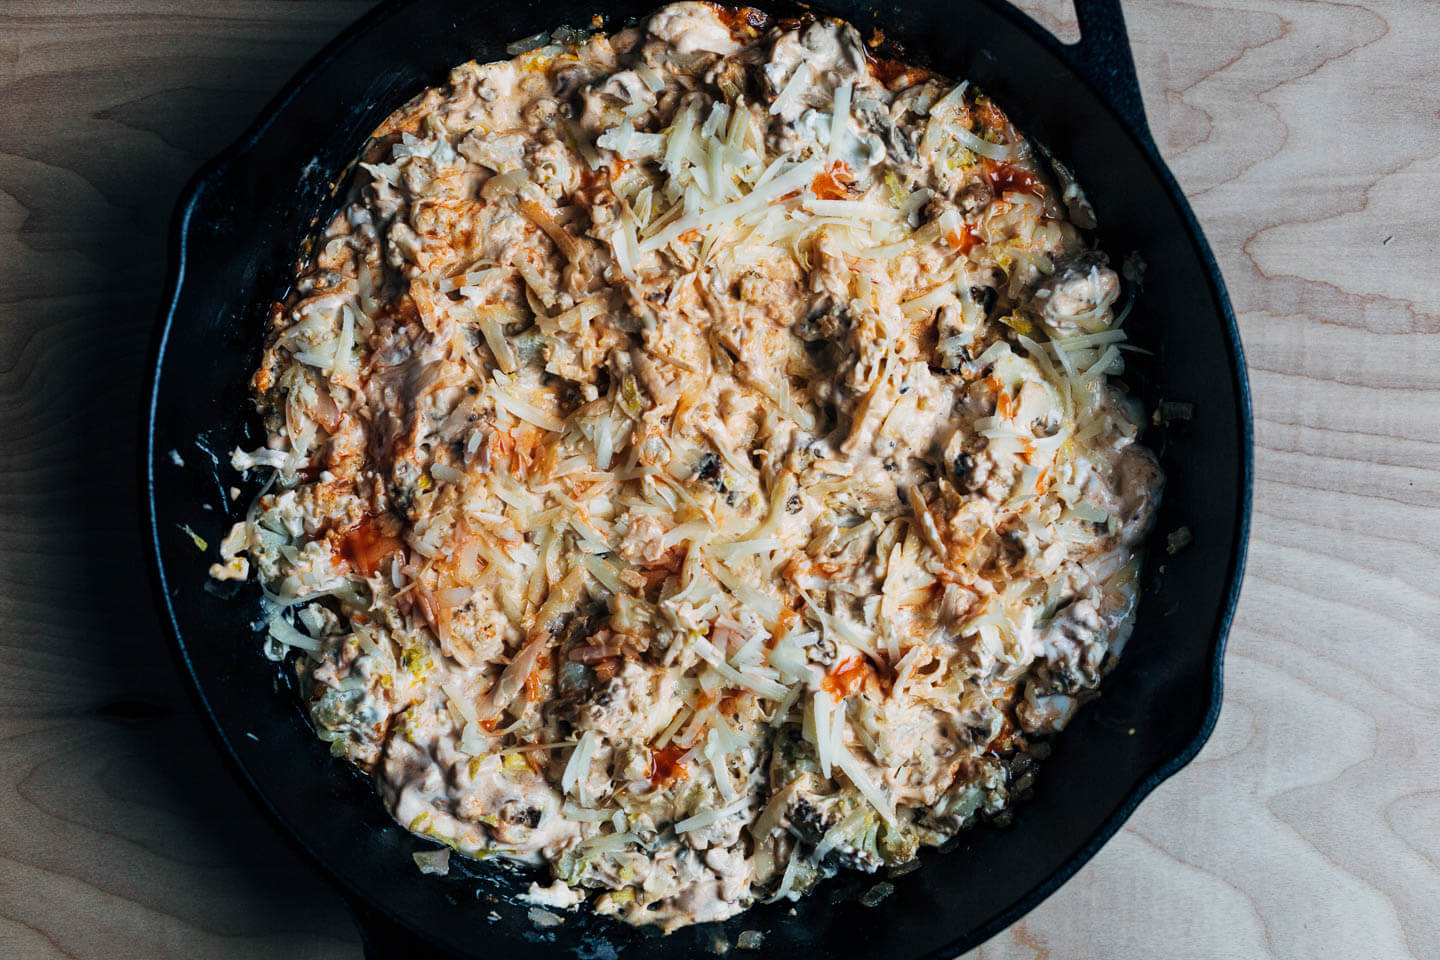
To assemble, fry the shallots and then let the pan cool a bit. Next, layer in the cream cheese (it will sizzle a little), sour cream, hot sauce, cauliflower, lemon zest, and cheese, and bake!
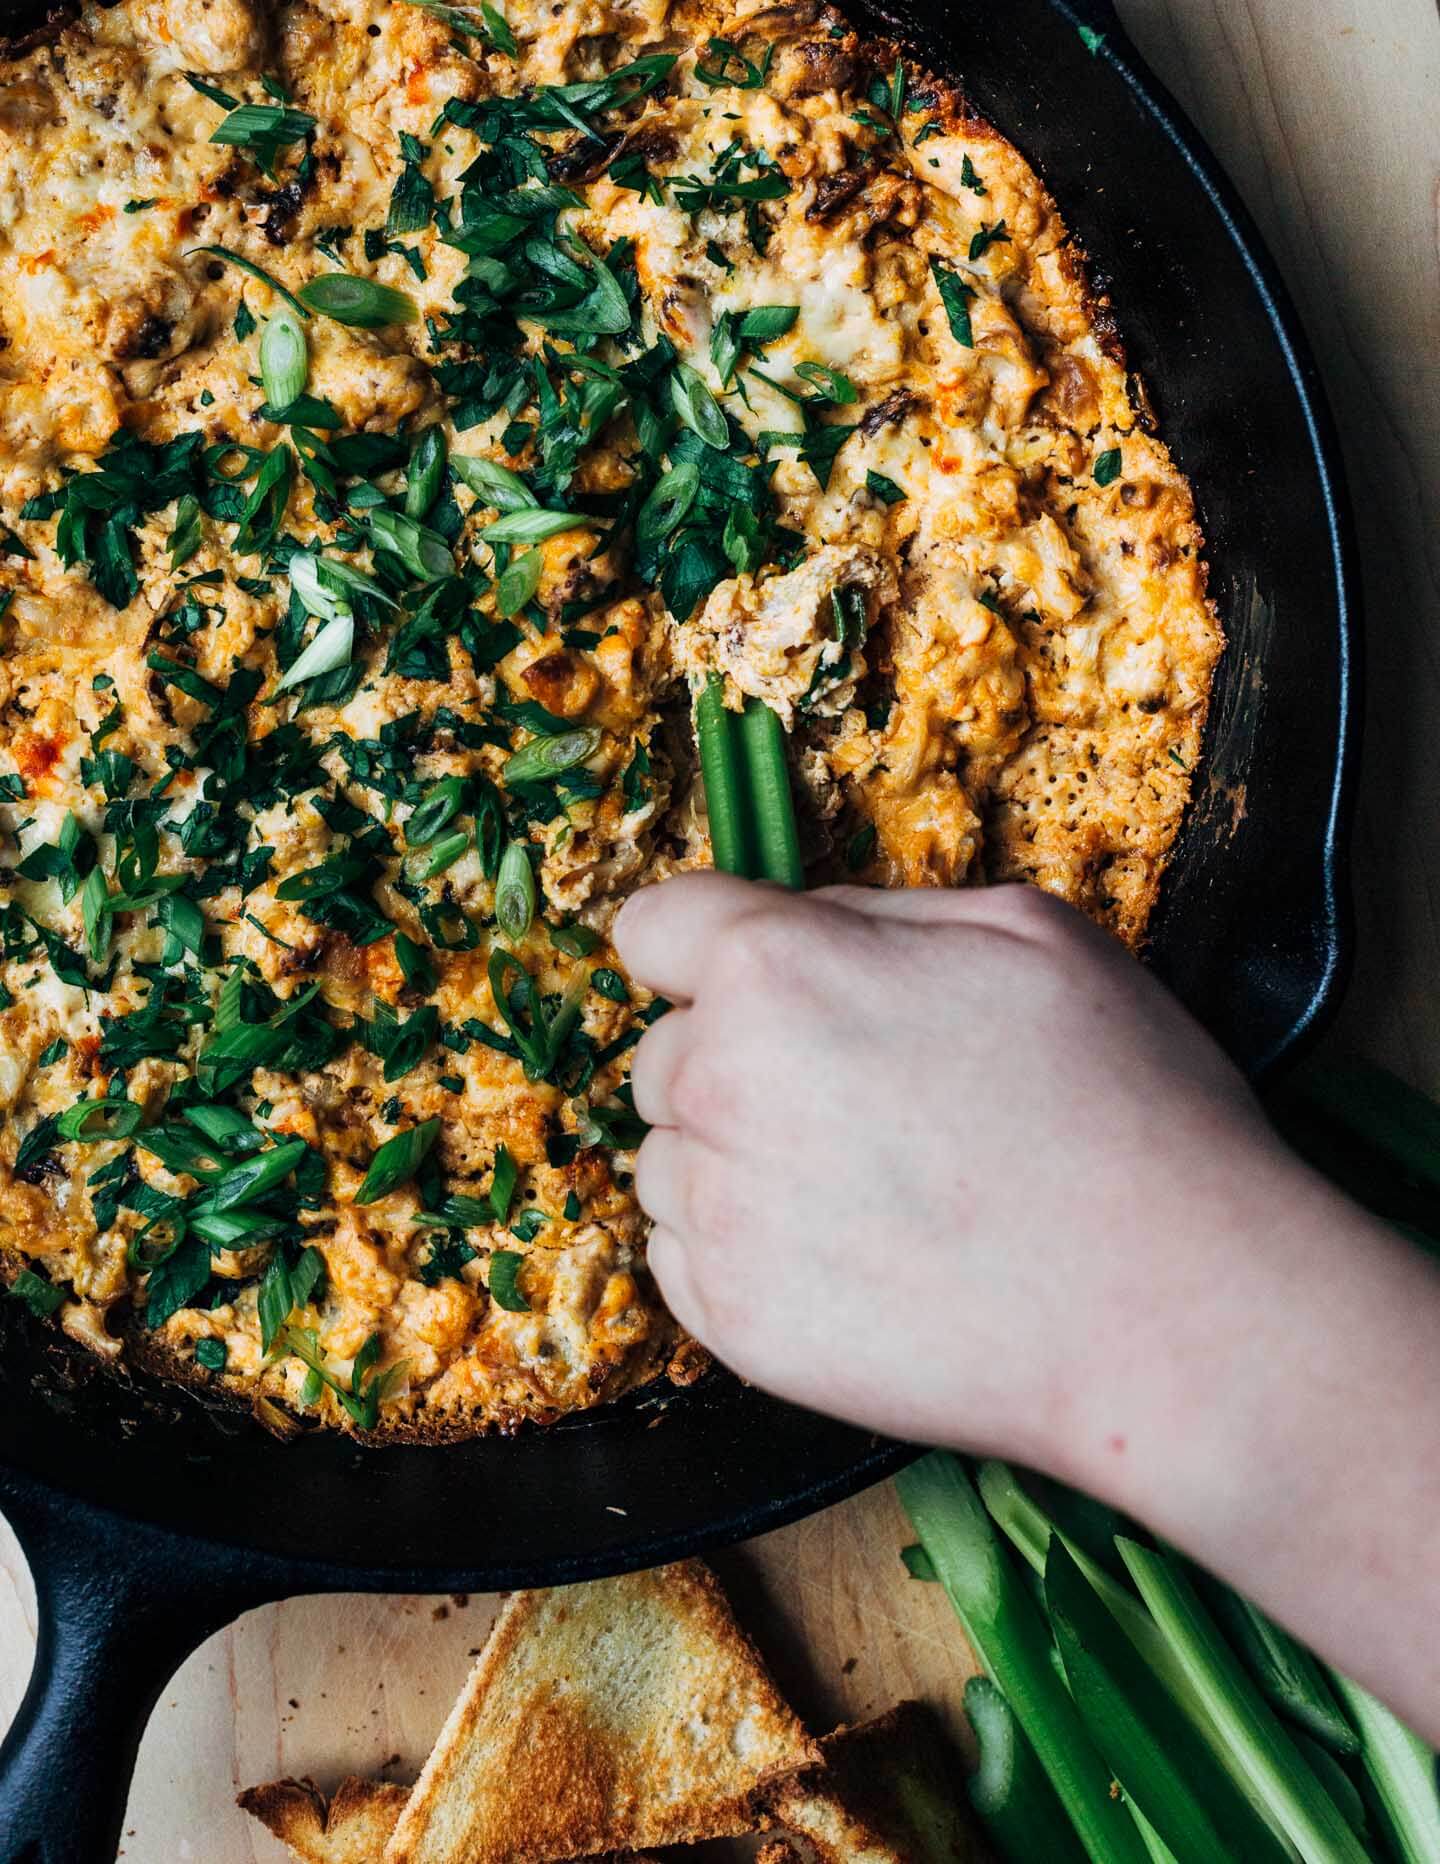
I like buttered toast points and celery sticks for servings alongside. Other excellent serving options include: Ritz crackers, crudités, tortilla chips, or really anything salty, sturdy, and crunchy.

- 8 ounces cream cheese, softened and cut into 4 pieces
- 1 medium head cauliflower, (about 2 pounds) cut into small, 1/2-inch florets
- 2 tablespoons extra virgin olive oil
- 3/4 teaspoon Diamond Crystal kosher salt (halve if using another salt)
- 1/4 teaspoon ground cayenne, more to taste
- 2 tablespoons unsalted butter
- 2 tablespoons minced shallot
- 1 teaspoon onion powder
- 1 teaspoon garlic powder or granules
- 1/2 cup sour cream
- 1/4 to 1/2 cup Frank's hot sauce, or sub your preferred vinegar-based hot sauce
- Zest of 1 lemon
- 1 cup shredded cheddar cheese
- 4 green onions, sliced thin
- 2 tablespoons minced parsley
- Buttered toast points and celery sticks, for serving
-
An hour or so ahead of time, set out the cream cheese to soften.
-
Preheat oven to 450 degrees F.
-
On a baking sheet, toss to combine the cauliflower, olive oil, salt, and cayenne. Roast, flipping once, 15 - 20 minutes, or until cauliflower have crisp, golden edges.
-
Meanwhile, heat an 8- or 9-inch cast iron or other skillet over medium-high heat. Melt the butter, add the shallots, and fry for 2 - 3 minutes. Fold in onion and garlic powder. Remove the pan from heat and set aside to cool slightly.
-
Once pan has cooled a bit, add the cream cheese (it may sizzle a little) and stir. Fold in the sour cream, hot sauce, roasted cauliflower, and lemon zest. (No need to over mix.) Top with the cheddar.
-
Bake dip 12 - 15 minutes, or until cheese is melted and just starting to bubble.
-
Top with green onions and parsley. Serve right away with toast points and celery sticks.
Hi there, can this be made/assembled a day in advance and then baked before serving?
Hi Marla, I haven’t tested the make-ahead approach, but it should work great!
Thanks so much!
As an update: I made this dish in advance and it turned out great!
I made a couple of minor changes (using Greek yogurt instead of sour cream, subbing garlic paste for powder) and otherwise made the dish as instructed up to the baking point. I let it cool to room temperature, then covered it with foil and refrigerated the entire cast iron skillet. To bake, I heated the oven to 425F and placed the foil covered cast iron in the oven for 20 minutes. After that, I uncovered and baked another 10-15. It was delicious and my friends loved it! After cooling, it was less creamy, which might be attributed to the refrigeration process. Really tasty nonetheless.