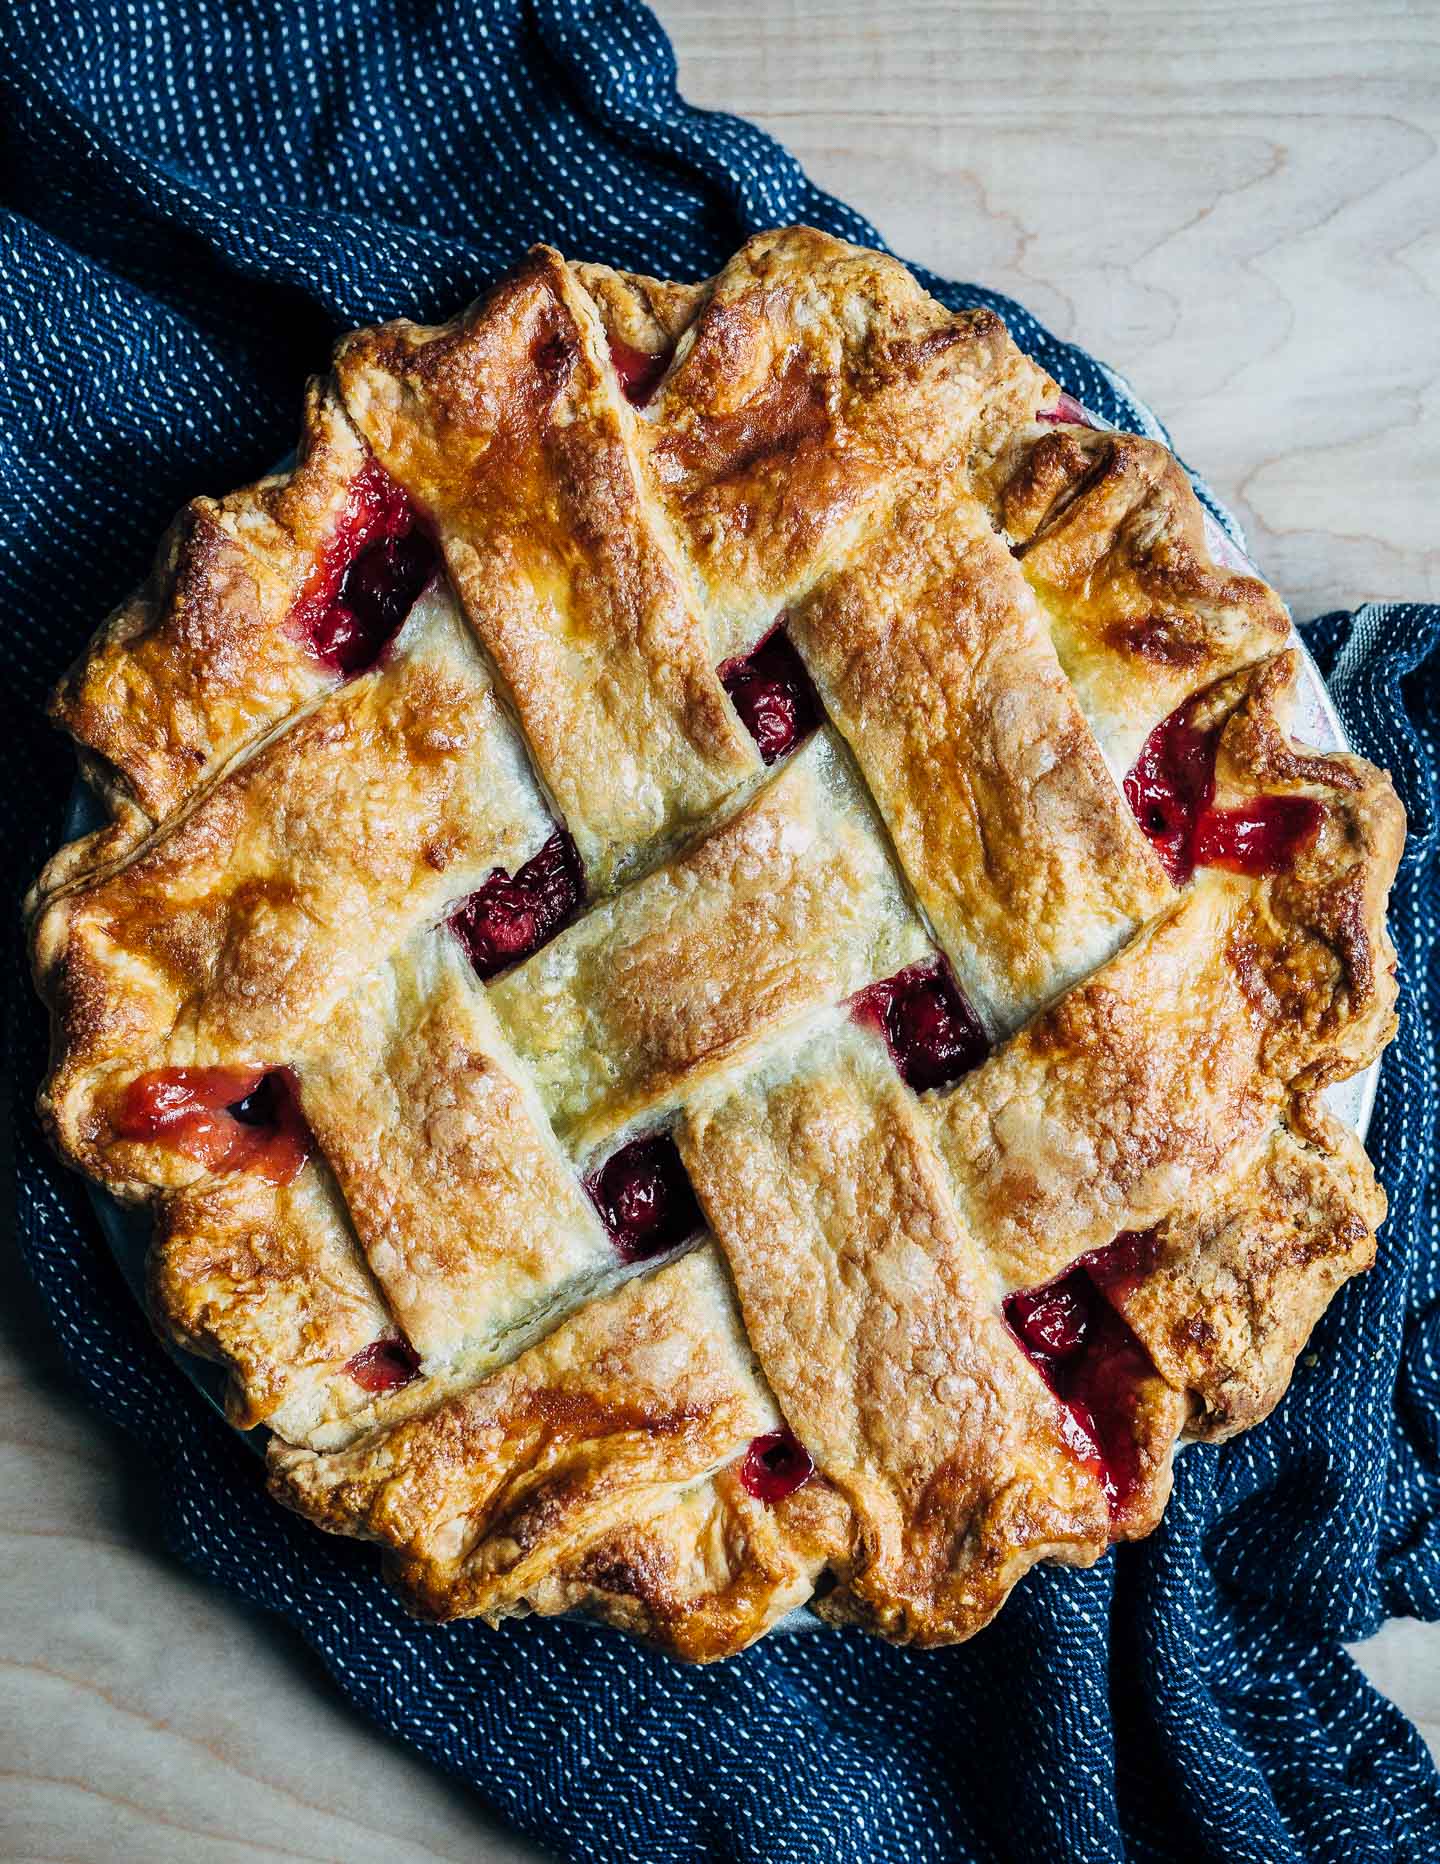
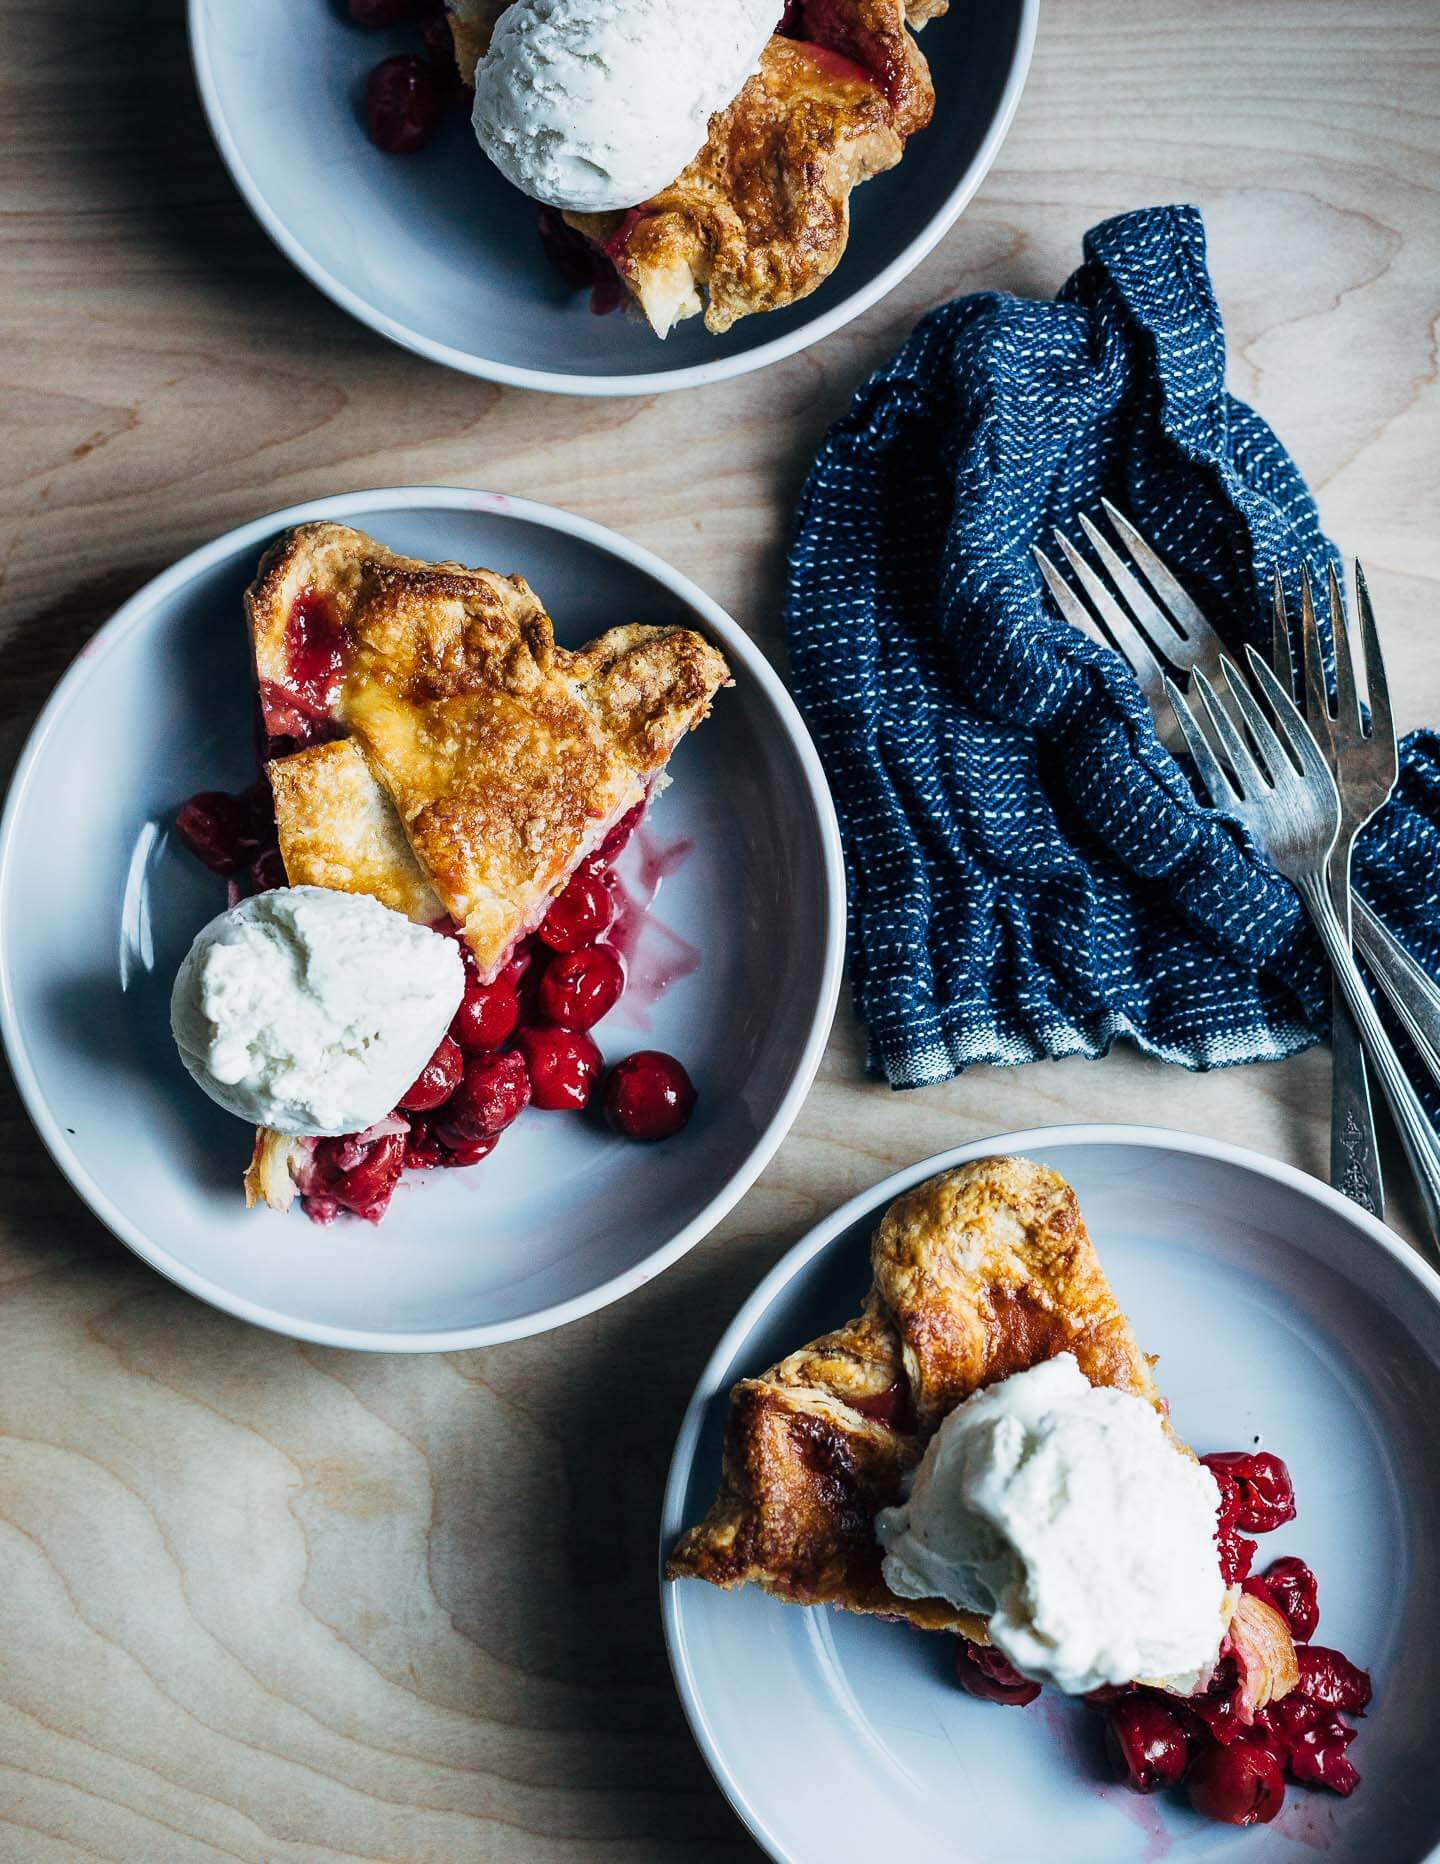
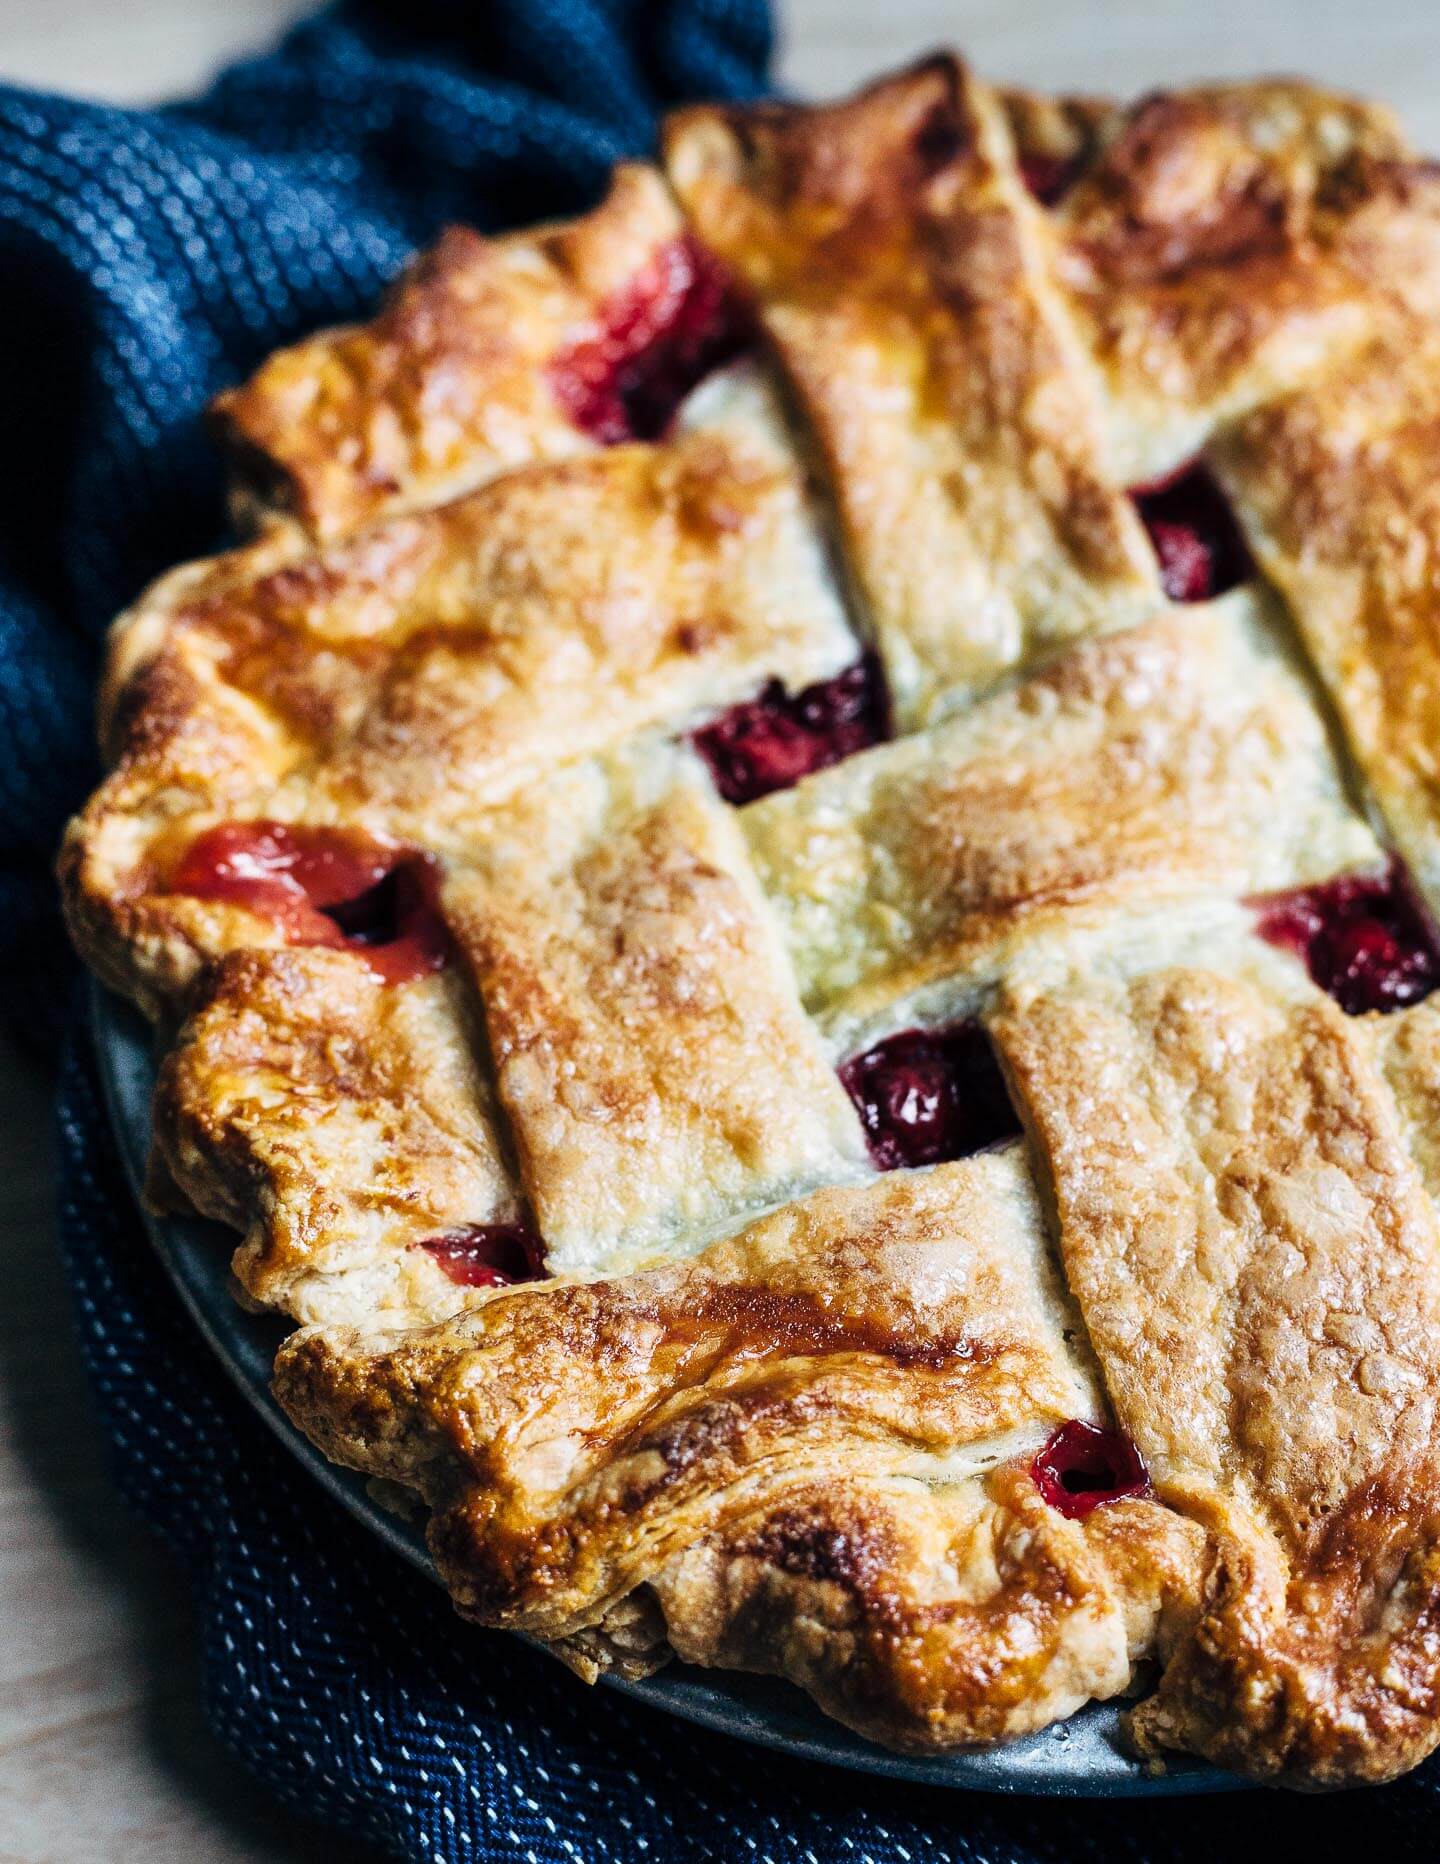
A classic lattice-top sour cherry pie with a flaky all-butter crust, plus a host of tips and tricks for making the perfect summer fruit pie.
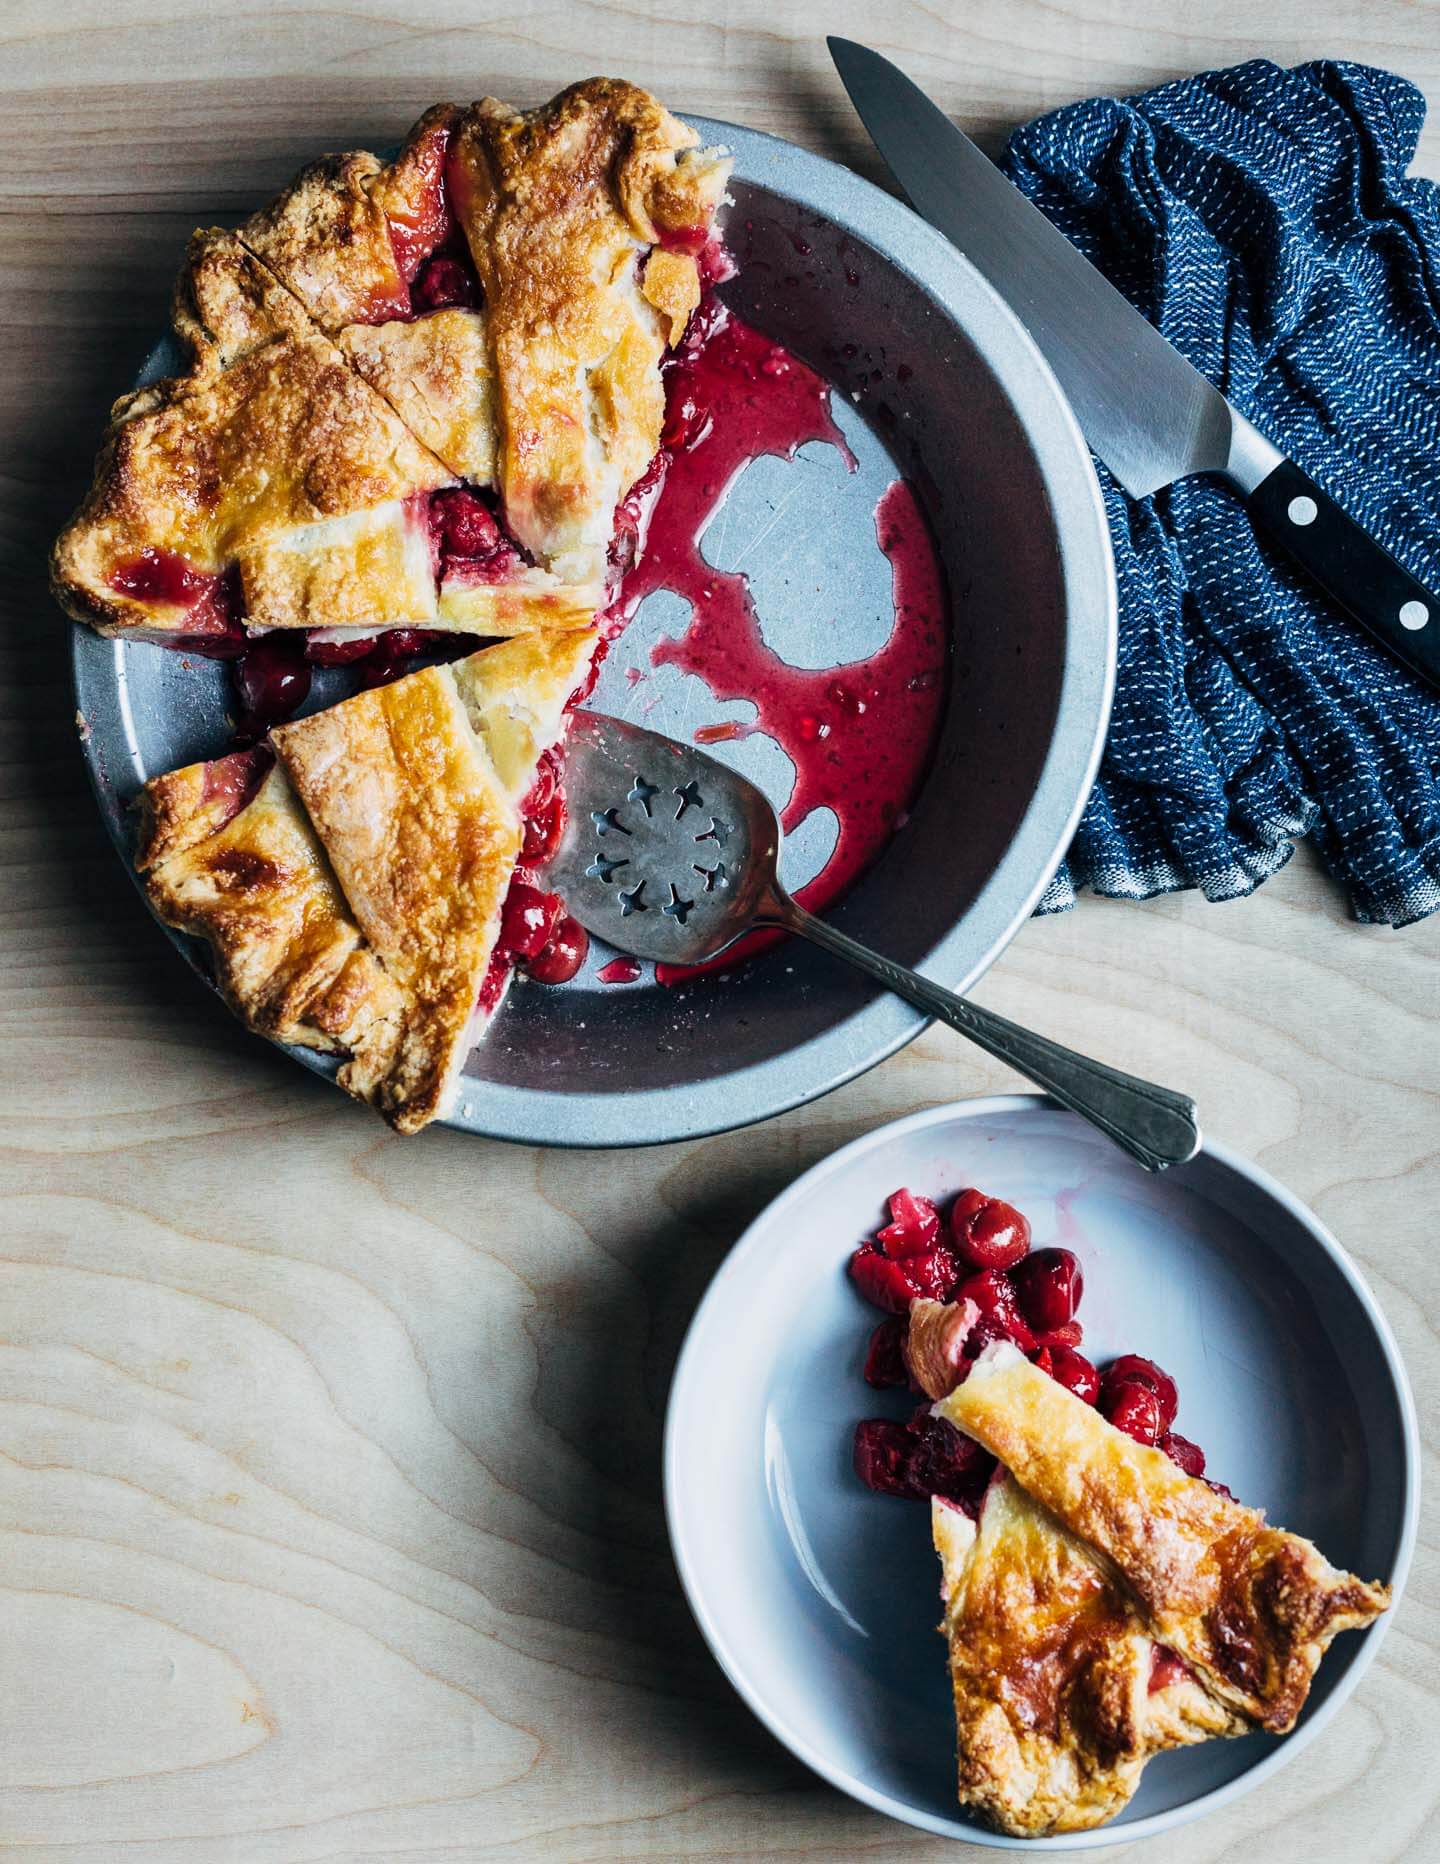
I have an early childhood memory of my grandmother working hard in her kitchen to make stacks of cherry pies for a church bake sale. It’s just a snippet of a memory, with hardly any details. I keep sifting through the memory, wishing I could remember the tooth of her crusts or their golden hue. Outside of that day, I never had the chance to bake with her. Even so, I like to think I’m channeling her expertise whenever I make a pie – cherry pie especially.
This isn’t the first lattice-top sour cherry pie I’ve posted here. (It’s actually the fifth.) But when, after two years without sour cherries, I found quarts of them at the farmer’s market last weekend, I decided it was time to update my classic lattice-top sour cherry pie recipe and do a deep dive into my pie making process.
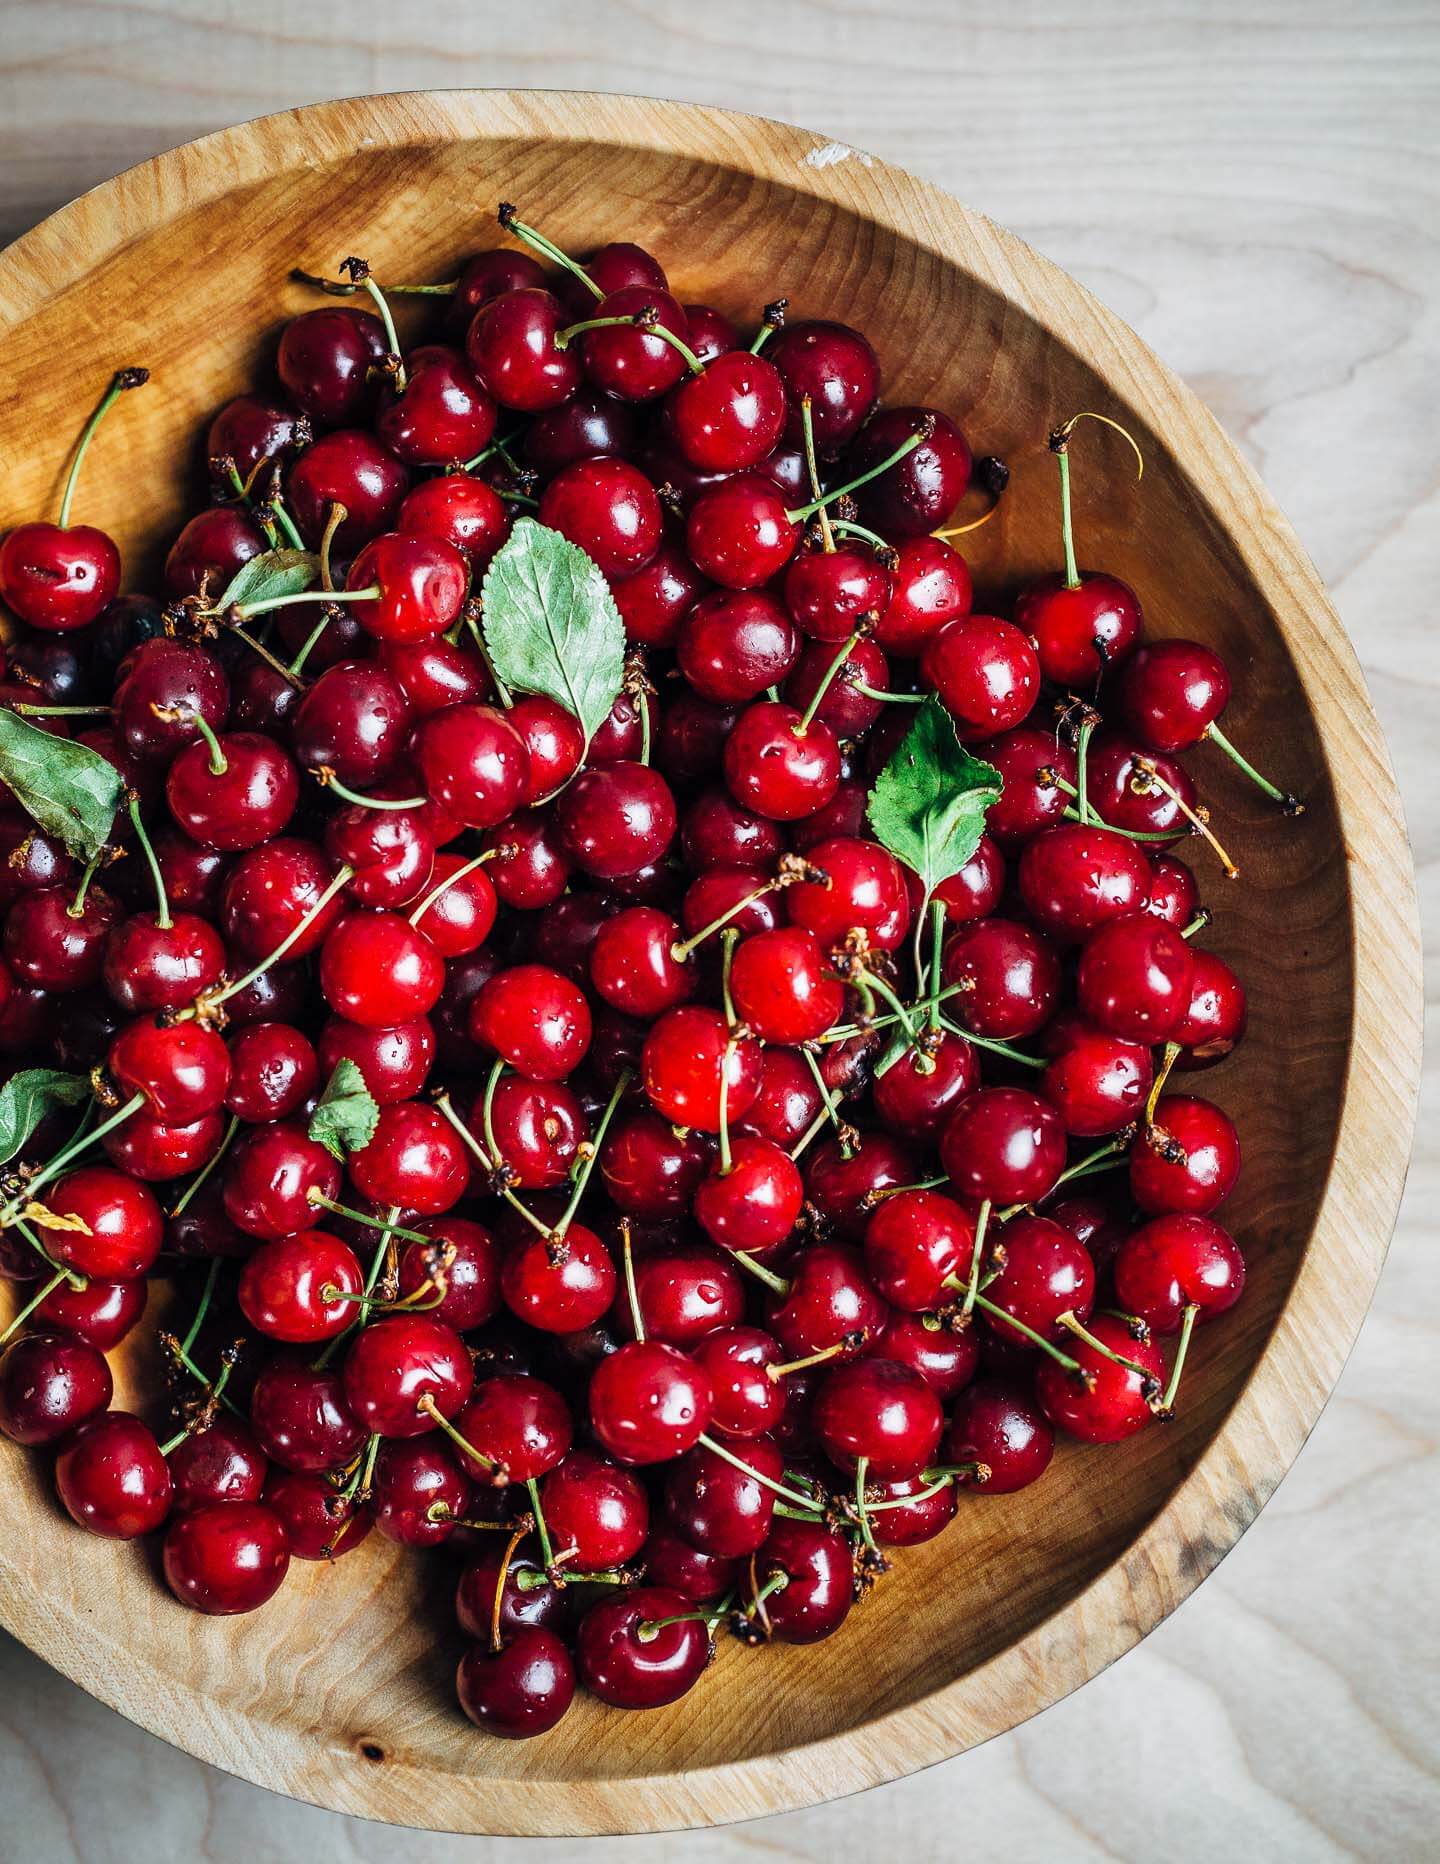
Whether you’ve made lots of pie or none, I hope this post will be helpful.
Let’s get to it.
Homemade Pie Dough Basics
- In the early days, I made pie dough in my food processor. The blade does a solid job of cutting the butter into the flour and the process is super quick and easy. It yields a flaky crust with a tight crumb, but can easily overwork the dough.
- Later, I discovered Adrianna Adarme’s pie crust recipe on A Cozy Kitchen, and liked her method of grating the butter into the flour. Like the food processor method, this creates a flaky crust with a tight crumb. The grated butter method yields a crust that shatters into little bits when you break into it for a bite. I like this method for beginners. And I love the one bowl simplicity of the grater method – no food processor to clean!
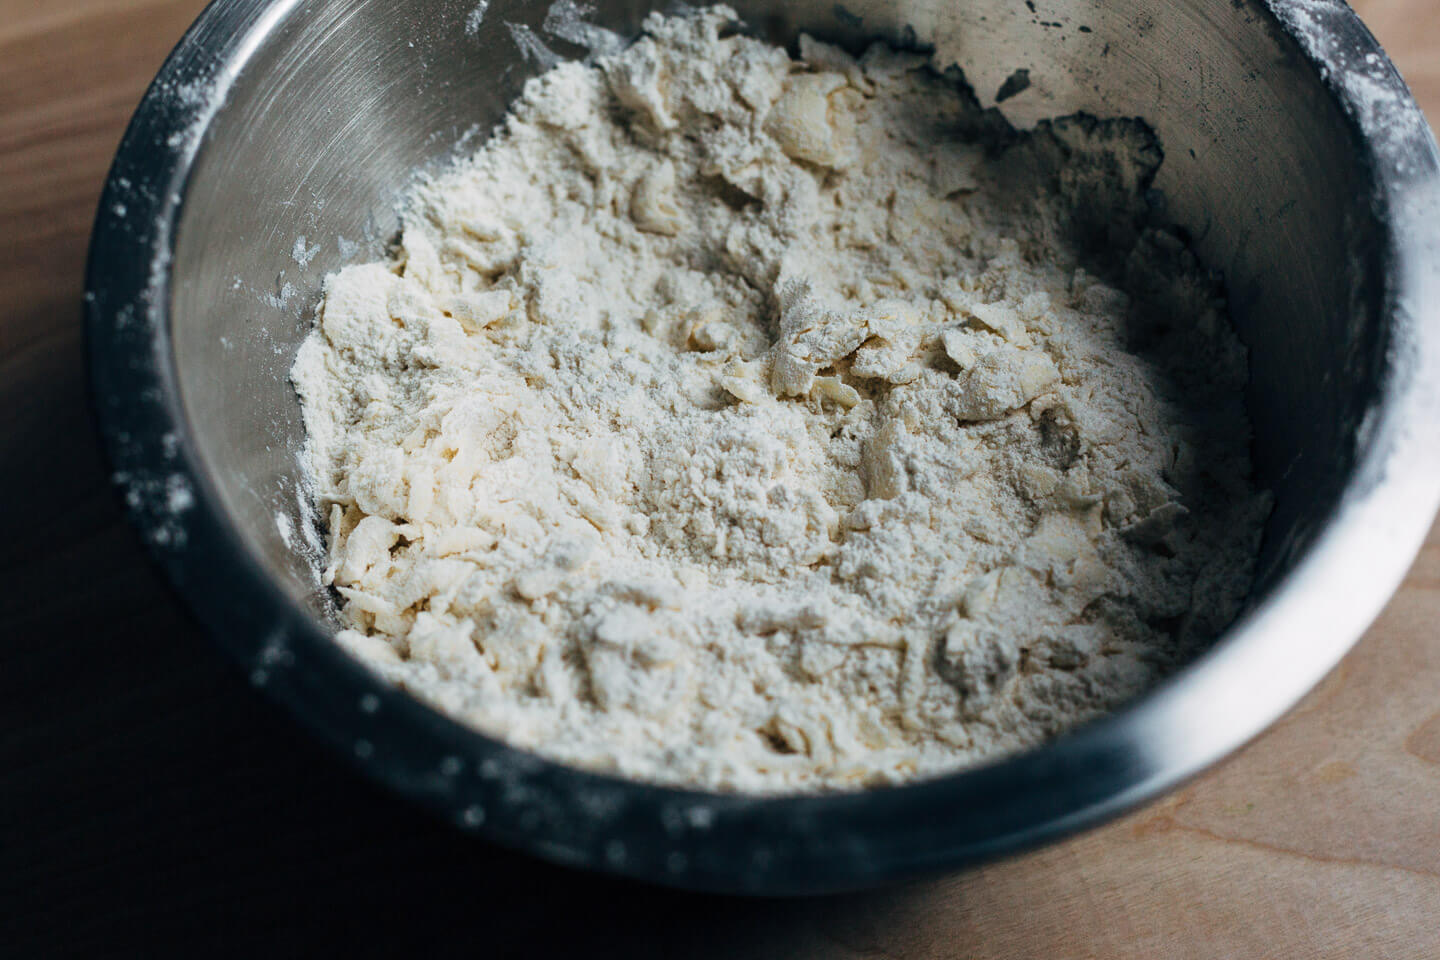
- Now, I use a hybrid method that combines grated butter with thinly sliced butter (cut either with the slicing side of the grater or a sharp knife). The grated butter lends structure, while the bigger slices create bigger flakes and pockets in the dough. This is my perfect every time holy grail dough and it’s never let me down.
- Once you’ve added the butter to the flour mixture, you’ll want to smush any bigger bits of butter flat with your fingertips. These flat bits of butter will melt away as the crust bakes and create pockets of air (aka flakiness) in the crust.
- Add as much water as you need for things to easily hold together, especially if you’re new to pie making. You don’t want things to be gooey at all, but add enough so that you can easily shape the dough into a disc. For me, this is usually between 1/2 and 2/3 cup of water (for a double crust pie). While water can increase the gluten (gluten is the enemy of flakiness), so does overworking the dough. Keeping things on the wetter side means you’ll have less fuss to get it shaped the way you need.
Fruit Fillings and Thickening Agents
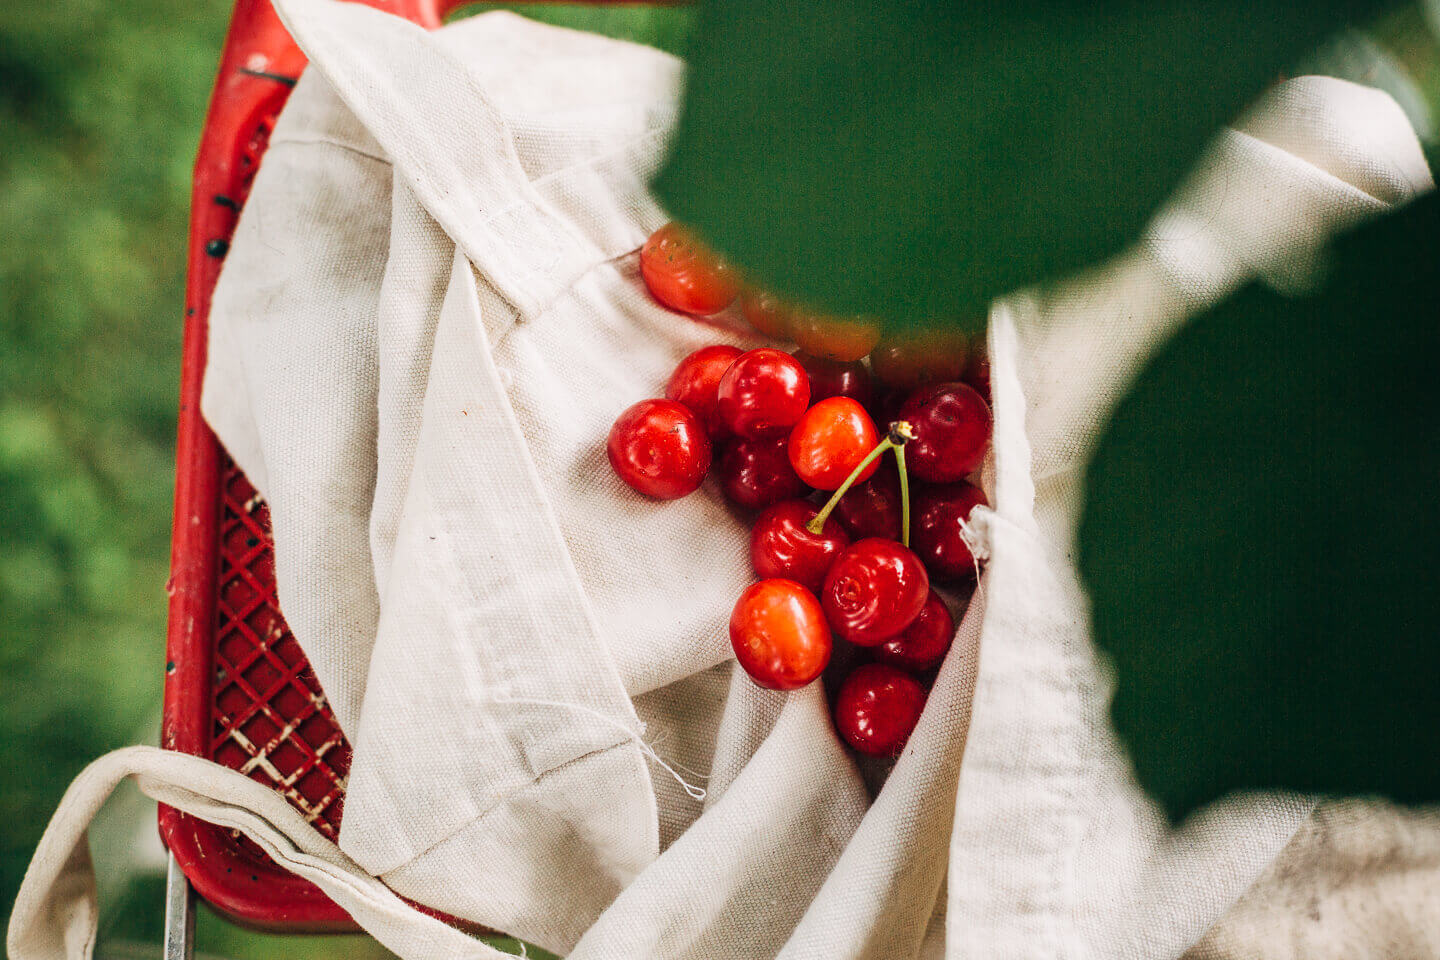
- For summer pies – berry or stone fruit pies – I like to use ground instant tapioca. It holds the filling together without added grit or muddiness. You can buy ground tapioca, but I just make my own in my spice grinder. For fall pies, I use flour as the thickening agent.
- Cornstarch can be used too, but the filling really needs to bubble vigorously to get the right set. And for very juicy summer fruits, I find the amount needed starts to affect the filling flavor. This chart from King Arthur Flour is helpful.
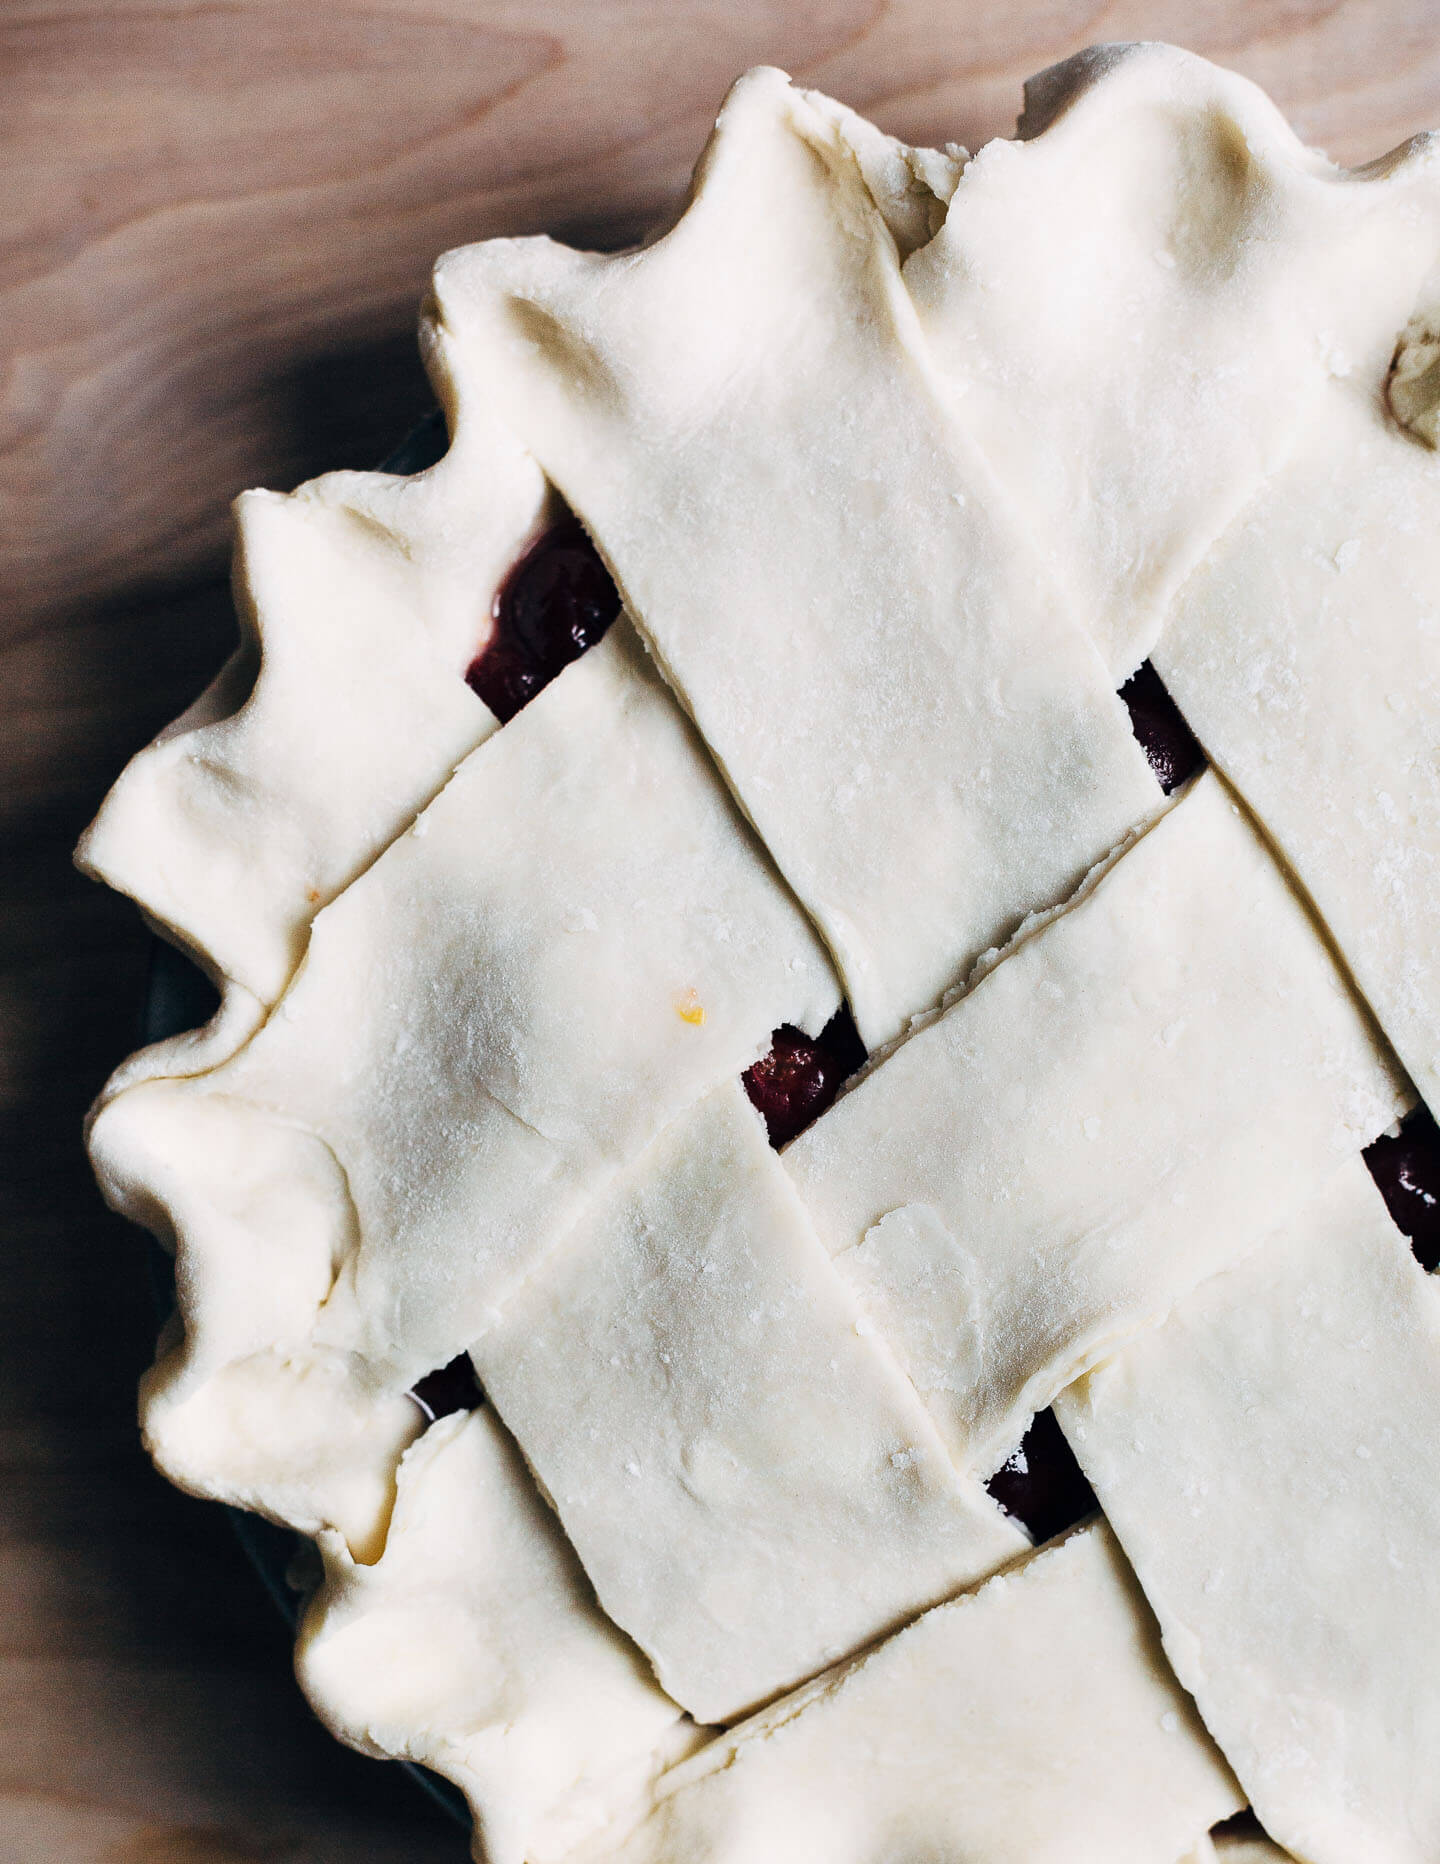
The Lattice
- I’m partial to a wide lattice. It gives the pie a more pulled together look and is easier to cut into. Of course, thin lattices allow more moisture to escape the pie, so if you’re worried about juiciness, this might be the option for you. This is a great tutorial on weaving a pretty lattice.
Baking Up a Golden Crust
- I used to bake my pies on the paler side. I’d often skip the egg wash, too. No more. A simple egg wash and a generous sprinkle of sugar bakes up golden with just a bit of sheen. If you’re making a pie, it should be pretty. Don’t skip the egg wash!
- Keeping the dough as cold as possible throughout the assembly process helps the crust keep its shape. For this reason, I prefer to use a metal pie pan that can go from freezer to hot oven.
- Baking the pie on a pre-heated baking sheet helps ensure the bottom crust gets nicely set and cooked through before the fruit juices can get to it.
- I am a devotee of Yossy Arefi’s gorgeous, deeply golden pies. As such, I bake my pies until the crust is deep golden and the filling is bubbling vigorously.
- The last vital step in any fruit pie is to let it cool – 3 hours is the minimum, but 5 or more is ideal. Otherwise, the fruit won’t have time to set and will be very runny.
Flavorful Flours
- I often swap in a half cup of a more flavorful flour for a double crust pie. Rye, spelt, and whole wheat flour are some of my favorite flours to play with.
- 2 1/2 cups all-purpose flour
- 2 tablespoons granulated sugar
- 1 teaspoon sea salt
- 16 tablespoons unsalted butter 2 sticks, cold
- 1/2 cup ice water, plus more as needed
- 5 cups pitted sour cherries, from about 2 quarts
- 1/2 cup turbinado or granulated sugar, plus 2 tablespoons for sprinkling
- 2 tablespoons ground instant tapioca, store-bought or ground in a coffee grinder
- Zest of 1 lemon
- 1/2 teaspoon fresh grated nutmeg
- Pinch sea salt
- 1 egg, lightly beaten
-
Working ahead, make and chill crust. In a large bowl, whisk together the flour, sugar, and sea salt. Use a large hole, coarse grater to grate in half of the the butter. Use the slicer on the box grater or a sharp knife to cut remaining butter into paper thin slices. Use your fingertips to blend butter into the flour, flattening out any large bits as you go. Using a silicone spatula, drizzle half the water over the mixture. Continue adding water in 1 tablespoon increments, just until the dough holds together when pinched. Divide dough into two equal discs, flatten, cover with plastic wrap, and chill for at least 30 minutes or up to 5 days.
-
When ready to cook the pie, preheat oven to 425 degrees F, slide a rimmed baking sheet into the oven, and let that get nice and hot too. On a lightly floured surface, roll out bottom crust to a 14-inch circle. Press into buttered pie pan (preferably metal or heat and cold resistant glass) and trim all but 1-inch of overhanging dough. Set pie pan into the fridge while you prepare the filling. (Reserve, wrap, and chill any leftover dough for the lattice.)
-
In a large bowl, toss together all filling ingredients and set aside.
-
Incorporating any leftover dough, roll dough for top crust out into a 14-inch circle. Cut dough into 6 - 8 (2-inch wide) strips. Once dough is ready, remove bottom crust from fridge. Working quickly, spoon filling into crust (leaving out juices at the bottom will help to avoid a soggy bottom crust). Weave lattice according to these instructions and crimp edges. Bush lattice with egg and sprinkle with sugar.
-
Place pie on preheated baking sheet. Bake 15 minutes at 425 degrees F. Rotate pie and turn heat down to 350 degrees F. Bake another 40 - 45 minutes, or until pie is a deep golden hue and filling is hot and bubbly. If crust seems to be baking too quickly, shield edges with tin foil.
-
Cool pie 3 - 5 hours before slicing. If you can't wait that long, prepare for the filling to be a bit runny.
I can only find frozen sour cherries. Lucky you as I have never found fresh anywhere I have lived. How would you adjust this to using frozen. Thanks for your help